- Turbo
- Blog
ESD floor marking tape removal should begin with a small compatibility trial on the actual floor, using the tape and floor manufacturers’ instructions. Remove the marking without assuming that a cleaner, scraper or heat treatment is safe for every coating. Then check residue, surface condition and any electrical verification required by the site’s control plan before reopening the area. Marking tape identifies a boundary or route; its removal and replacement do not establish the electrical performance of the floor. This guide explains how a buyer or facilities team can specify, trial and record the removal process without inventing a universal solvent or temperature.
Separate boundary control from floor performance
A worn line can create two different problems: an unclear route and uncertainty about the surface beneath it. Address both, but keep their acceptance records separate. The ESD floor marking guide addresses the purpose and placement of markings. This article begins after the site has decided to remove a specific installed section. It does not replace approval of a new boundary layout, a floor coating repair or the site’s electrical verification procedure.
The EOS/ESD Association’s basic control procedures explain why an ESD program uses multiple coordinated controls. A visible line is only one element of that program. Do not interpret an undamaged-looking surface, a familiar tape color or the word antistatic on a purchasing record as proof that the complete personnel and floor system remains acceptable.
Collect the installed-system information first
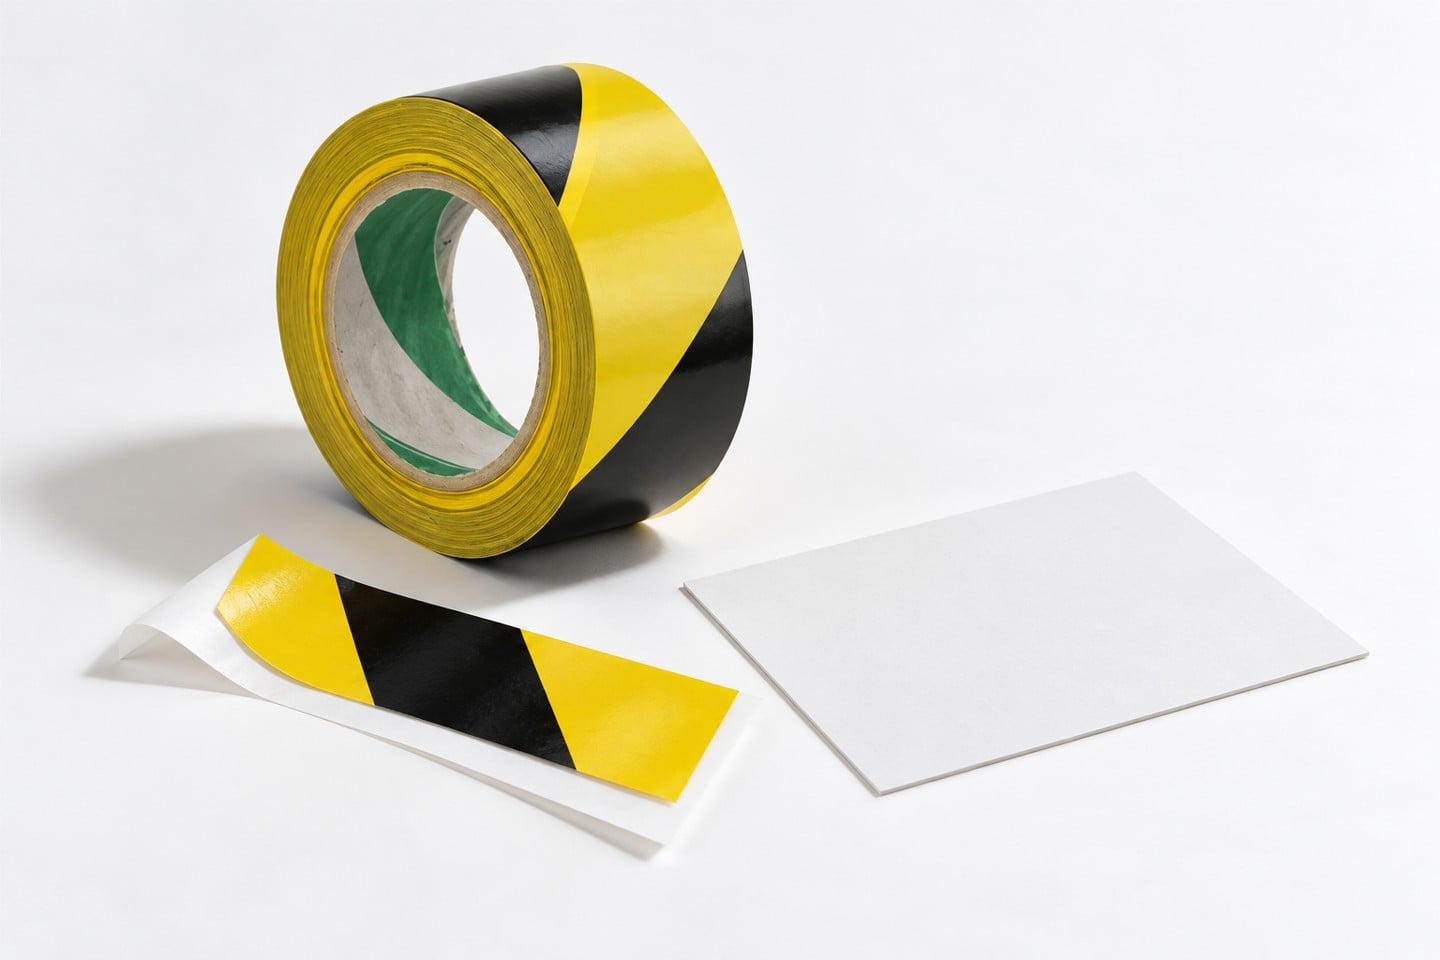
Identify the tape model and lot if available, approximate installation date, floor construction and coating, previous cleaning method and the reason for removal. Photograph a representative intact portion and the failed portion before lifting either. Ask the floor supplier whether the exposed surface is a coating, a replaceable tile or another construction. The method that leaves one surface intact may mark or soften another. If the construction is unknown, treat that uncertainty as a reason for a limited trial and supplier review.
The SWESD floor marking tape product page provides the purchasing reference for the illustrated tape family. It does not provide a universal removal recipe for every floor. An enquiry should name the installed surface and service history, rather than asking only for an adhesive remover. Request written compatibility guidance and limitations for the combination actually present at the site.
Protect people and material during the trial
Choose a location that represents the actual installation but can be isolated without obstructing an emergency route. Agree a temporary route and boundary arrangement with the responsible area owner. Relocate exposed sensitive material through the site’s approved handling process before introducing tools or cleaning products. Keep packaging and production stock outside the maintenance zone. Do not let a convenient trial location become an uncontrolled path into an active protected area.
Confirm who can stop the task and who approves reopening. Where a cleaning product is proposed, review its current supplier instructions and safety information with the site’s responsible person. This guide deliberately supplies no mixing recipe, dwell time, heat setting or exposure limit. Those choices depend on the named product, floor construction and local operating conditions. Record the actual approved method so a later shift does not improvise a stronger treatment when removal becomes difficult.
Define a trial with observable decisions
Start by asking what success will look like. A useful trial records whether tape can be lifted controllably, whether adhesive remains, whether the surface changes and whether the approved cleaning process removes the residue. Compare the treated area with an adjacent untreated area under similar lighting. A photograph can document appearance but cannot establish electrical properties or the absence of invisible contamination. Record those separate acceptance requirements before the work starts.
| Trial observation | Decision | Evidence before release |
|---|---|---|
| Coating lifts or surface marks | Stop and hold affected area | Floor supplier disposition and approved corrective action |
| Visible adhesive remains | Trial supported residue-cleaning method | Removal complete without unresolved surface change |
| Surface differs after drying | Investigate before extending work | Cause reviewed against untreated comparison |
| Surface appears intact | Complete other applicable checks | Site-required electrical and route release records |
| Different surface construction | Qualify that construction separately | Specific approval rather than extrapolation |
Use the table as a decision record, not as a substitute for supplier instructions. For example, a satisfactory trial on a sealed concrete coating does not authorize the same method on a different tile, joint filler or repaired patch. If the route crosses more than one construction, define the trial scope for each relevant surface. This prevents a single convenient sample from concealing a compatibility problem elsewhere in the removal zone.
Remove a short section and inspect the response
Follow the agreed lifting method on a short section while observing the tape, adhesive and floor together. Avoid pulling faster simply because the first few centimetres release easily. Changes near joints, wheel tracks or repaired areas can matter. Pause if material comes away with the tape, the floor finish changes, the tape fragments unexpectedly or the proposed tool starts marking the surface. Keep the removed sample and its location reference if the supplier will need to investigate.
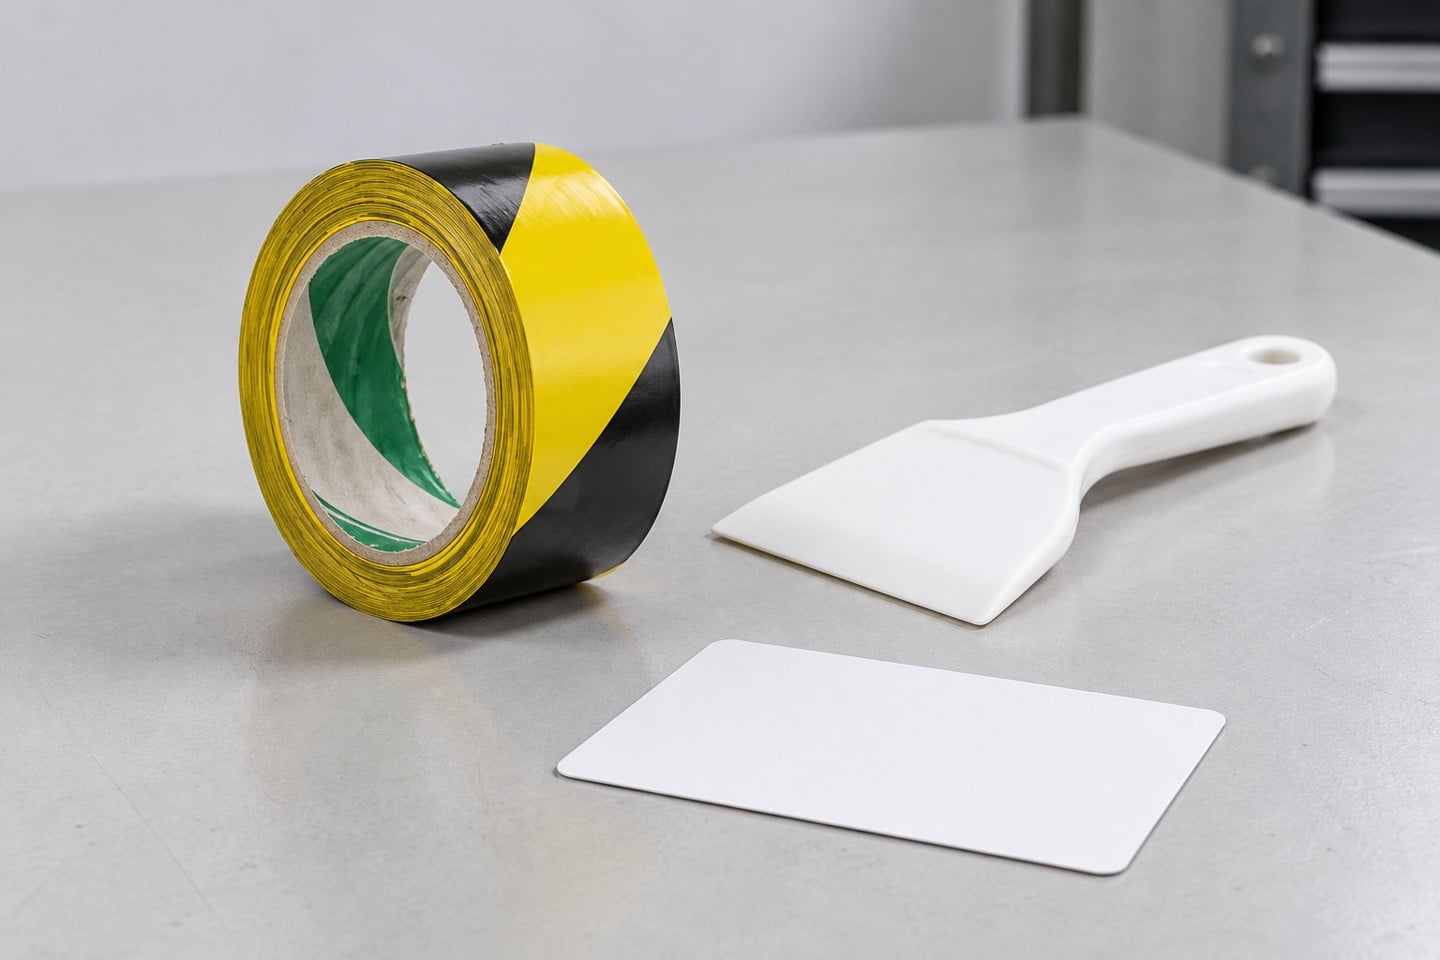
Tools should be selected for the floor and task rather than from a general maintenance toolbox. A hard edge can damage a coating; an unreviewed cleaning pad can change surface texture. Heat can introduce another uncontrolled variable. Do not escalate from hand removal to an aggressive tool, a hotter setting or a stronger liquid without revising the method approval. Record a failed trial honestly and ask for another supported approach instead of extending the damage.
Treat adhesive residue as a compatibility question
Distinguish visible residue from a change in the floor finish. A glossy patch may be remaining adhesive, cleaner residue or the underlying surface after weathering; appearance alone does not settle the cause. Record the observation without inventing a diagnosis. If the supplier recommends a cleaning product, trial it with the approved application and removal method and inspect after the specified completion condition. A surface that looks clear while wet may show a different result after drying.
Keep cleaning materials under control. Freshly removed adhesive and used wipes should not return to production cleaning stock. The separate solvent and wipe compatibility guide explains why the cleaning liquid and wiping material need to be considered together. Its discussion does not qualify that combination for this floor. The facilities owner must still confirm that the proposed residue treatment suits the installed construction and the area’s contamination requirements.
Check the area before applying replacement tape
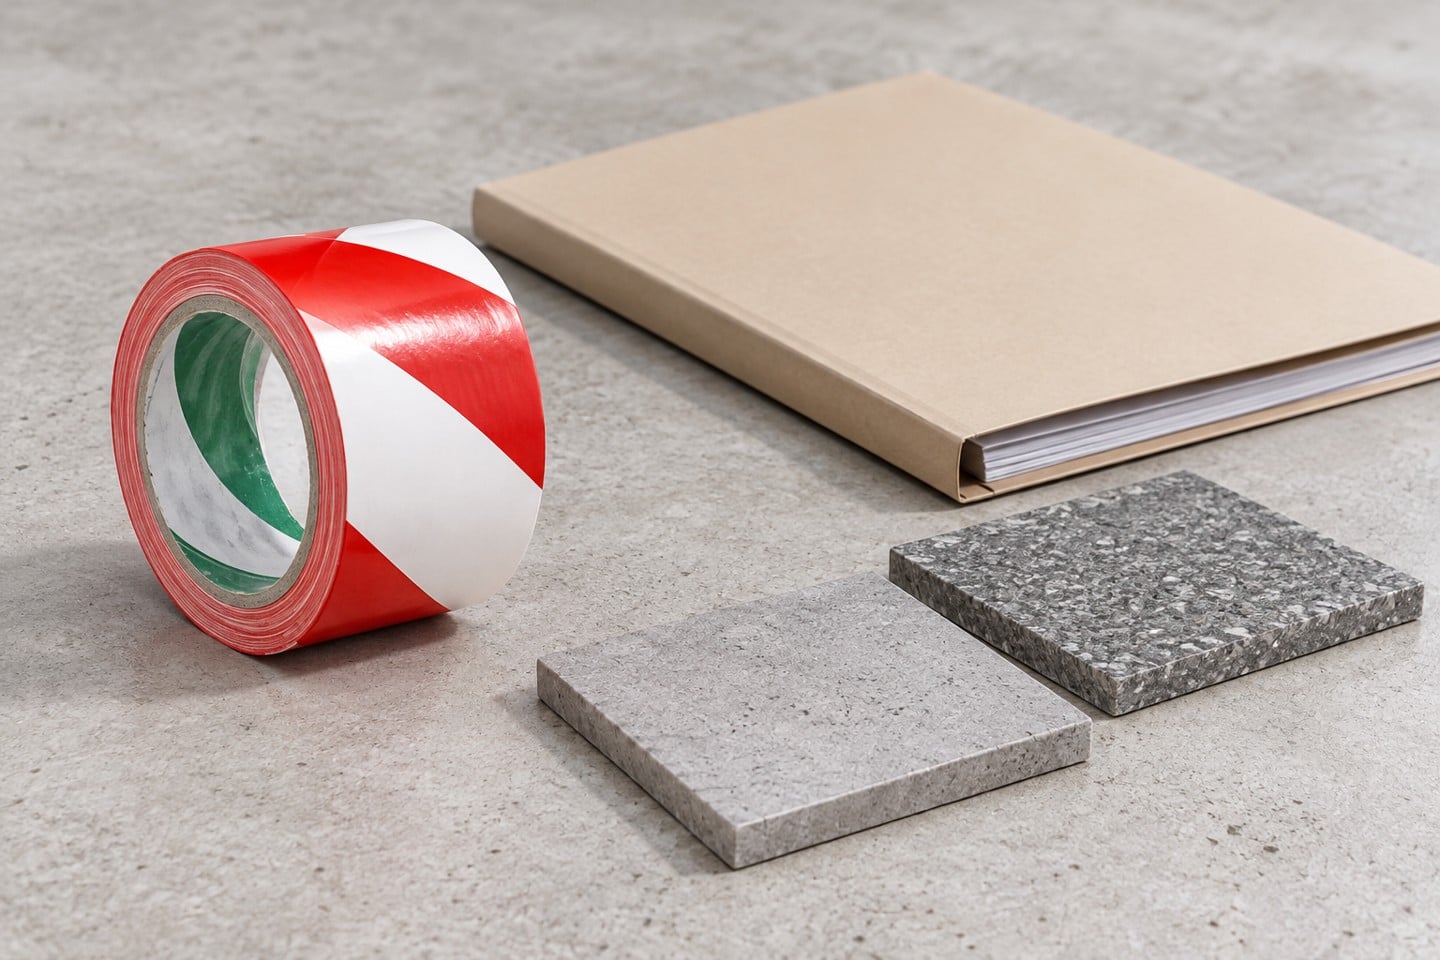
Once the approved removal and cleaning steps are complete, inspect the surface for remaining adhesive, loose fragments, discoloration, raised coating edges and changes around joints. Document any unresolved observation and prevent it from being hidden immediately beneath fresh marking. Replacement tape should not become a cosmetic cover for a damaged floor. Where a repair is necessary, obtain the appropriate floor-system disposition and let its required process finish before discussing a new marking installation.
If the site requires electrical verification following this type of maintenance, use the approved method and acceptance criteria for the actual system. Do not use a generic resistance number from an unrelated article. Preserve the measurement conditions and instrument identity in the relevant record. Physical condition, electrical verification and boundary identification are different checks, and a pass in one does not automatically close the others. The release owner should be able to see which checks apply and who completed them.
Release the route and brief the people who use it
Reopening should confirm the temporary route is removed or updated, the intended boundary is clear, maintenance materials are cleared and the affected team knows what changed. The EOS/ESD Association’s training and auditing guidance supports the need for people to understand the controls they use. A record filed by maintenance is not enough if operators continue following an obsolete line or assume a temporary gap changes material-handling requirements.
If another contamination-control consumable was moved during the work, review its placement separately. For example, the sticky mat selection guide deals with an entrance consumable, not adhesive-residue removal. Do not substitute a new mat for an unresolved tape or floor problem. Close each affected control according to its function, and leave an owner and due date for any remaining corrective action.
What to include in the supplier enquiry
Provide tape identity, photographs, floor-system description, known installation history and a description of the trial. Explain the operational restriction: whether removal occurs beside occupied workstations, across a route or during a planned shutdown. Ask the tape and floor suppliers to address the exact proposed method, cleanup, stop conditions and surface-preparation requirements for replacement. Request clarification where their instructions disagree rather than selecting whichever instruction is faster.
Keep the final record concise enough to reuse: area and date, responsible people, method revision, trial location, observed response, approved changes, waste clearance and release evidence. Avoid writing merely “tape removed successfully.” A future team should understand which combination was accepted and which surfaces were outside the trial. That record turns a one-off maintenance exercise into a controlled purchasing and facilities decision while preserving the distinction between a neat floor and an acceptable ESD control system.
Educational background: why coordinated ESD controls matter
The following EOS/ESD Association video provides background on electrostatic control. It is not a demonstration of SWESD tape removal and does not approve a solvent, floor or maintenance procedure. Use it to explain why route marking, handling precautions and electrical controls need separate consideration; use the actual suppliers’ instructions and site control plan for the removal task.
Frequently asked questions
Can one solvent remove tape from every ESD floor?
No. Confirm compatibility with the tape adhesive and actual floor construction, follow supplier instructions and complete a representative trial.
Does a clean-looking floor prove electrical performance?
No. Physical appearance and applicable electrical verification are separate acceptance questions.
Should heat be used to speed removal?
Only when the tape and floor suppliers support the method for the actual construction and the site approves its operating conditions.
Can new tape cover a damaged coating?
Do not conceal unresolved floor damage. Obtain an appropriate disposition and complete the required repair and release process first.
Does marking tape create an ESD grounding path?
Do not assume that it does. Marking identifies an area or route; the electrical control system requires its own specified evidence.

Leave a Reply