- توربو
- مدونة
تنظيف حامل مجلات لوحات الدوائر المطبوعة يجب إزالة المخلفات السائبة والتلوث الناتج عن العمليات دون تغيير هندسة الفتحات، أو دقة الضبط، أو أسطح المواد، أو وظيفة التفريغ الكهروستاتيكي (ESD) المعلنة للحامل. يمكن للغبار، أو بقايا عجينة اللحام، أو الملصقات، أو الأشرطة، أو الألياف، أو شظايا لوحات الدوائر أن تسد فتحات التوجيه أو تنقل التلوث إلى المجموعات. ومع ذلك، فإن المذيبات القوية، أو النقع، أو الأدوات الكاشطة، أو الهواء المضغوط غير المتحكم فيه يمكن أن تنشر المخلفات، أو تلحق الضرر بالبوليمرات، أو تزيل بيانات التعريف، أو تغير سلوك السطح. تبدأ الإجراءات الآمنة بمعلومات المواد الخاصة بالشركة المصنعة للحامل وخطة المصنع للتحكم في التلوث. يوفر هذا الدليل لفرق تقنية التثبيت السطحي (SMT)، وتجميع لوحات الدوائر المطبوعة (PCB)، والصيانة طريقة عملية للحجر الصحي، والتنظيف الجاف، والتنظيف الرطب المتوافق، والتجفيف، والفحص، والفحوصات الوظيفية، والإفراج الموثق.
حدد الرف والتلوث قبل التنظيف
سجيل أصل أو دفعة الرف، الطراز، مواد البناء، نوع الضبط، فئة التعرض للحرارة إن وُجدت، إعداد العرض الحالي، وسبب التنظيف. التمييز بين الغبار العادي ومادة التدفق (ال flux)، أو المعجون، أو الزيت، أو المادة اللاصقة، أو التآكل، أو المخلفات غير المعروفة، نظراً لأن كل منها قد يتطلب استجابة معتمدة مختلفة.
إذا كان التلوث مجهولاً، أو مرتبطاً بانحراف في العملية، أو يحتمل أن يكون خطيراً، فقم بعزل الحامل واستشر فرق السلامة والعمليات المسؤولة. لا تقم بتجربة المذيبات على معدات الإنتاج أو خلط المخلفات في حمام تنظيف عام.

حماية هندسة الدليل وآليات الضبط
قم تفريغ كل لوحة دوائر مطبوعة وأزل الحامل من خط الإنتاج النشط. قم بتحرير أو قفل آلية الضبط فقط وفقاً لما تنص عليه الإجراءات المعتمدة. ادعم الإطار على سطح نظيف حتى لا تلتوي اللوحات الجانبية. حافظ على الأجزاء الصغيرة والمحددات والبراغي والملصقات تحت السيطرة.
تحدد فتحات التوجيه دعم اللوحة والمسافات بينها. لا تقم أبداً بإدخال شفرة أو مبرد أو مكشطة صلبة فيها قسراً. فخدوش الفتحات أو نتوءاتها أو اتساعها أو انحناء الألواح يمكن أن يتلف اللوحات ويسبب انحشاراً. تعامل مع المسمار، والسير، والترس، وال مزلاج، والقفل كواجهات دقيقة وليست كقطع معدنية عادية.
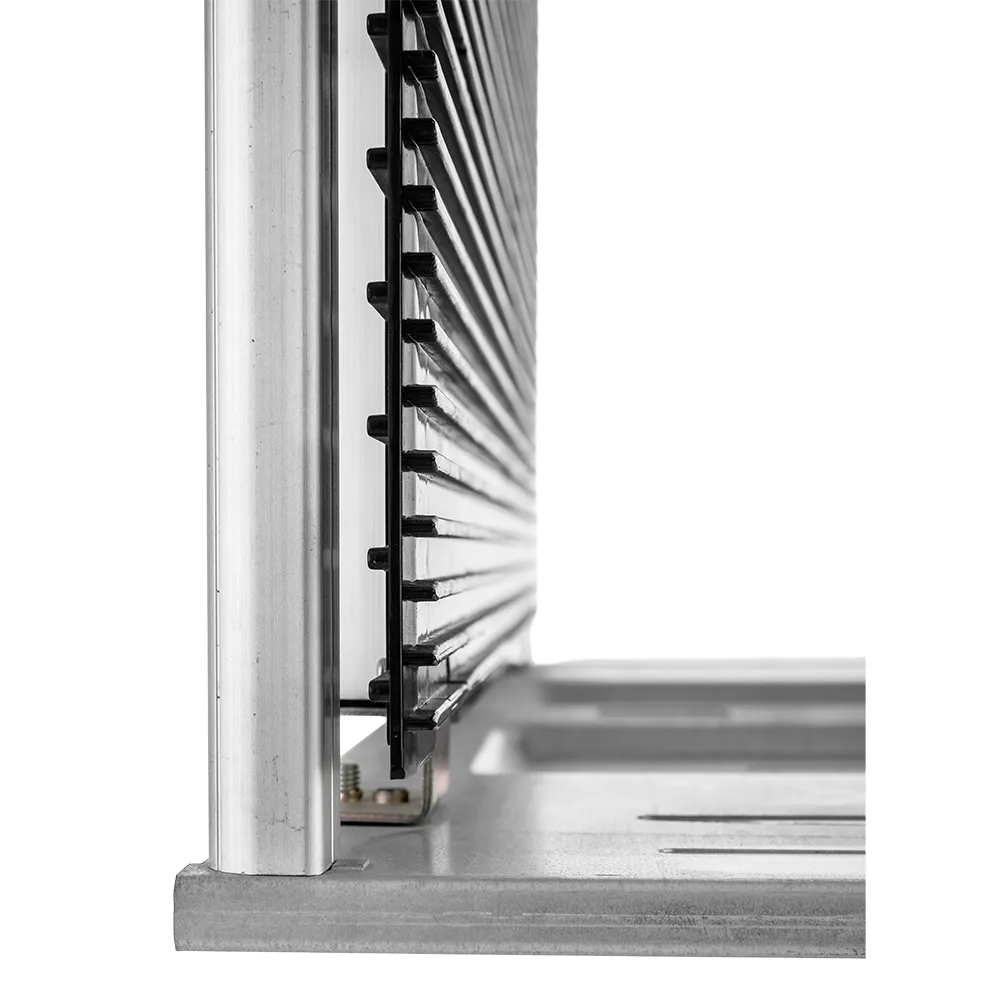
استخدم أقل طرق التنظيف المعتمدة عدوانيةً
ابدأ بالإزالة المُتحكّم بها للجزيئات السائبة باستخدام مكنسة كهربائية نظيفة ومعتمدة، أو قطعة قماش مسح، أو أداة ناعمة. يمكن للهواء المضغوط أن يعيد توزيع التلوث أو يدفعه داخل الآليات، لذا استخدمه فقط عندما تسمح بذلك الإجراءات المكتوبة وضوابط المنشأة. اعمل من المناطق الأكثر نظافة باتجاه المناطق الأكثر اتساخاً، وقم بتغيير قطع القماش قبل أن تعيد ترسيب المواد.
بالنسبة للتنظيف الرطب، تأكد من توافق المواد الكيميائية مع الألواح، والقواعد المعدنية، والمثبتات، الملصقات، المواد اللاصقة، والآليات المزيتة. ضع الحد الأدنى من السائل المطلوب وتجنب الغمر غير المتحكم فيه. لا تدعِم الادعاء بأن الكحول، أو الماء، أو أي منظف شائع آخر آمن عالمياً لكل هيكل حامل.
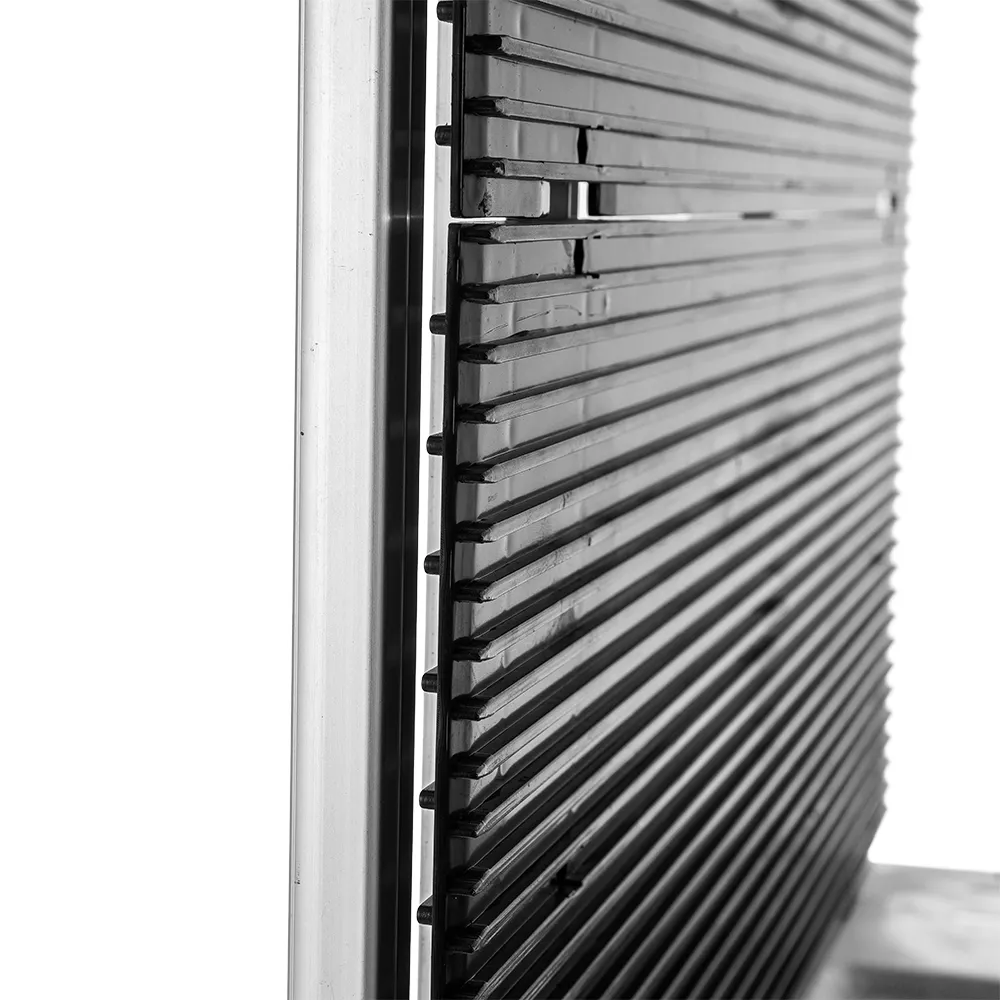
جفف تماماً وافحص كل سطح وظيفتي
دع الحامل يجف في المنطقة والوضع المعتمدين. السائل المحبوس حول المثبتات أو القواعد أو أجهزة الضبط يمكن أن يحمل بقايا أو يعزز التآكل. لا تسارع عملية التجفيف بحرارة مفرطة ما لم يتم تأهيل هيكل الحامل الكامل والملصقات لذلك.
تحقق تحت إضاءة جيدة من مجاري التوجيه، ومشطوباتها المدخلية، والمصدات، والألواح الجانبية، والقواعد، والمقابض، وأدوات التثبيت، والملصقات، وأجزاء الضبط. وابحث عن البقايا المتبقية، أو الأفلام، أو التورم، او التشققات، او التآكل، او القطع المفكوكة، او حواف المجاري المتضررة. قم بعزل أي شيء لا يمكن تقييمه بثقة.
إعادة ضبط الخรม والتحقق منه وإصداره
اضبط الحامل على عرض محكوم باستخدام المرجع أو المقياس المعتمد. تأكد من أن اللوحات متوازية، وأن الأقفال تثبت، وأن المثبتات محكمة، وأن حركة الضبط تتم بسلاسة. قم تحميل ألواح نموذجية غير خاصة بالمنتج أو عينات معتمدة للتحقق من الإدخال، والإبقاء، والإزالة دون احتكاك أو لعب مفرط.
حيثما يكون للرف دور معلن في الحماية من التفريغ الإلكتروني (ESD)، قم بإجراء التحقق المحدد بعد التنظيف باستخدام الطريقة والمواقع والظروف المعتمدة. قم بتسجيل المنظف، أو رقم التشغيلة، أو التركيز عند الاقتضاء، والتاريخ، والمسجل (المشغل)، ونتيجة الفحص، والأبعاد أو فحوصات الوظائف، ونتيجة التفريغ الإلكتروني، وقرار الإفراج.
جدول تحكم عملي
| خطوة | نقطة تحكم | إصدار الأدلة |
|---|---|---|
| حجر صحي | هوية الرف ونوع التلوث | تم تسجيل الأصل والسبب |
| إزالة جافة | عدم الانتشار أو التحتك غير المقيّد | الفتحات خالية بشكل واضح من الحطام السائب |
| تنظيف رطب | المادة الكيميائية المعتمدة والحد الأدنى للتعرض | لا توجد طبقة، ولا تورق، ولا تلف في الملصق |
| تجفيف | لا يوجد سائل محبوس أو بقايا | فحص بصري كامل |
| تعديل | العرض، والتوازِي، والقفل والمُوَقِّفَات | محاكمة المقياس والمجلس التمثيلي |
| التحقق من التفريغ الكهروستاتيكي | الطريقة والمواقع المحددة | تسجيل نتيجة النجاح حيثما يُطلب ذلك |
إعداد إجراء مُحكم ونوذج موافقة
إجراء الموقع: - المسؤول: المشرف المسؤول - المواد المعتمدة: المواد المطابقة للمواصفات والمُعتمدة مسبقاً مع عينة الموافقة أو مجموعة الصور المرجعية - تسلسل العمل: التدريب على المسار والمعدات الحقيقية، ثم مراقبة عدة دورات تشغيلية عادية - معايير القبول: التطابق التام مع التهيئة المتوقعة الموضحة في عينة الموافقة أو مجموعة الصور - حالات التوقف: أي انحراف عن التهيئة المتوقعة أو تعطل المعدات - السجلات: سجلات التدريب والمراقبة ودورات التشغيل - إجراءات التصحيح: - يُسمح للمشغل بتصحيح الأخطاء البسيطة فوراً. - ما يتطلب الحجر الصحي والمراجعة: أي عيوب أو انحرافات غير قابلة للتصحيح الفوري وفقاً لتعليمات المورد.
افصل بين السلامة والنظافة والوظيفة الميكانيكية والتحقق من تفريغ الشحنات الكهربائية (ESD). لا يمكن للفحص البصري الفردي تغطية كل مخاطر، كما لا يمكن لقراءة كهربائية واحدة إثبات النظافة أو السلامة الميكانيكية. عندما يكون القياس مطلوباً، حدد الجهاز والطريقة والمواقع والبيئة حدود القبول. حافظ على تحديث معايرة المعدات وتدريب الأفراد ضمن نظام المنشأة.
الinspection الوارد وإدارة التغيير
عند الاستلام، طابق الصنف، والكمية، والمراجعة، ورقم تشغيلية المورد، وملصق التعبئة مع أمر الشراء. افحص بحثاً عن التلف، والتلوث، ونقص التعريف، والاختلافات غير المتوقعة في اللون، أو القوام، أو الهندسة، أو الرائحة، أو الأجهزة، أو التعبئة والتغليف. خذ عينات من الأبعاد والسمات الوظيفية وفقاً للخطة المتفق عليها. احجز التغييرات غير المبررة في الحجر الصحي بدلاً من السماح لضغط الإنتاج بتحويل الاستثناء إلى موافقة غير موثقة.
يلزم الإشعار قبل إجراء أي تغييرات على المصدر المادي، أو المادة المضافة، أو اللاصق، أو أدوات التصنيع، أو الأبعاد، أو المنظف، أو التركيب، أو القطع الحرجة. يجب أن تركز إعادة التأهيل على الوظائف المتأثرة بالتغيير ولكن يجب مع ذلك التحقق من التفاعلات. قد يؤثر اللاصق الأقوى على الإزالة؛ وقد تؤثر عجلة القيادة (الرول) الجديدة على التتبع والمسارات الكهربائية؛ وقد يؤثر المنظف الجديد على الملصقات والسلوك السطحي.
تجربة التأهل والسجلات
قم بإجراء التجربة في ظل ظروف بيئية وتشغيلية ممثلة. قم بتسجيل التاريخ، والموقع، والمسؤولين عن التشغيل، والعينات، وأرقام التشغيلات، والمعدات، وتحضيرات التنظيف، والمسار، والملاحظات، والحيود. قم بتضمين عنصر معتمد حالي كخط أساس حيثما أمكن ذلك. لا تقم بإخفاء فشل ذريع داخل متوسط الدرجات. تتطلب متطلبات السلامة، وحماية المنتجات، والتلوث، قابلية الاستخدام، والتوثيق، والتفريغ الكهروستاتيكي (ESD) قرارات نجاح خاصة بها.
مراجعة النتائج بعد دورات كافية لكشف التباين الطبيعي. قد يفوت العرض الناجح الواحد اختلافات المشغل، وذروة حركة المرور، والتآكل، وتأثيرات التحميل والتنظيف. يجب أن يوضح التقرير الحدود: ما لم يتم اختباره، وأي الادعاءات تظل إعلانات من المورد، وأي الاستنتاجات تنطبق فقط على التكوين المختبر. الاحتفاظ بالأدلة مع سجل العنصر أو العملية حتى تتمكن الفرق المستقبلية من فهم أساس الموافقة.
تدقيق العملية بعد الإطلاق
راقب العملية أثناء العمل الطبيعي بعد الإطلاق، وليس فقط خلال العرض التجريبي المخطط له. أكد أن المستخدمين يتبعون التسلسل المعتمد، وتظل المواد متاحة، وتكون الملصقات مقروءة ويتم فهم شروط التوقف. اعتبر عينات السجلات للنتائج المفقودة، والإخفاقات المتكررة، والبدائل غير المبررة. اسأل المشغلين عن الأماكن التي تواجههم صعوبة في الإجراء، لأن الحلول البديلة غالباً ما تكشف عن مشكلة في التوافق، أو الوصول، أو الحركة، أو التدريب قبل أن تصبح عيباً في المنتج.
تتبع حالات الفشل حسب الصنف، والموقع، والوردية، ورقم تشقيمة المورد حيثما تدعم السجلات المتاحة هذا التحليل. يجب أن تؤدي المشكلات المتكررة إلى مراجعة الأسباب، وليس مجرد الاستبدال المتكرر. قم بتحديث الإجراء عندما يتغير المنتج، أو طابق الإنتاج، أو المعدات، أو مادة التنظيف، أو مسار الحركة، أو التعبئة والتغليف، أو خطة التحكم. حافظ على تاريخ المراجعة مرئياً واسحب النسخ الملغاة لتبقى الطريقة المعتمدة واضحة لا لبس فيها.
قائمة التحقق من طلب تقديم العروض (RFQ) للمشترين
التطبيق، والبيئة، والأبعاد، والواجهات، والإنشاء، والوظيفة المطلوبة، وطريقة الاختبار، ومعايير القبول، والنظافة، والتعبئة، والوسم، وإمكانية التتبع، وكمية العينات، والتوثيق، وإشعار التغيير. راجع الـ رف مجلات لوحات الدوائر المطبوعة SWESD و مركز منتجات سويسد كpunkte انطلاق؛ يجب أن يطابق الاعتماد النهائي العنصر المُرَد والمبدأ التحكمي الخاص بالمشتري.
- صف مسار الاستخدام الحقيقي والمنتج المحمي.
- تحديد معايير الرفض القاطع والأدلة المقبولة.
- اطلب الرسومات والمواد ونتائج الاختبارات القابلة للتتبع حيثما كان ذلك مناسباً.
- حدد كميات العينات والقطعة الأولى قبل الإنتاج.
- قائمة افتراضات التنظيف والفحص والاستبدال المعتمدة.
- طلب الكشف كتابةً عن الاستثناءات والتغييرات.
الموارد ذات الصلة بـ SWESD
- قطع غيار رف المجلات المتحكم فيه
- فهم رف مجلات تفريغ الشحنات الكهربائية الساكنة (ESD)
- تخطيط نقاط التخزين المؤقت لـ SMT باستخدام حوامل المجلات
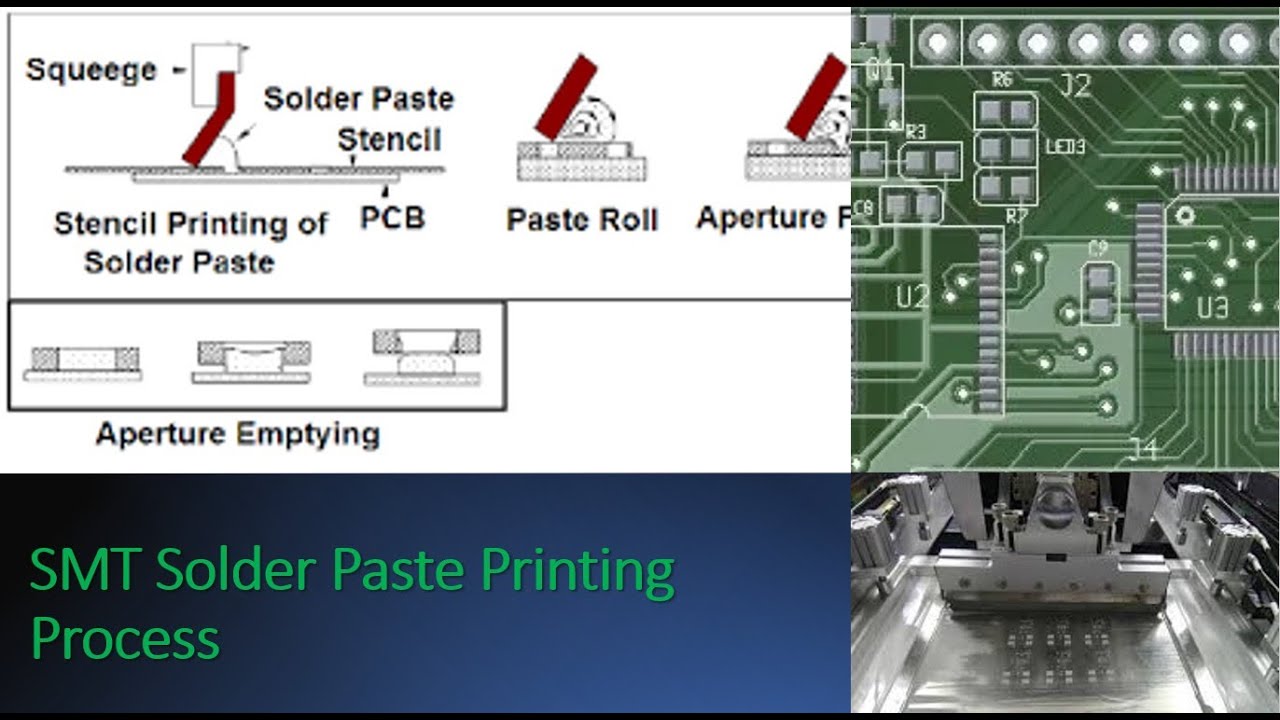
فيديو تعليمي: عملية طباعة معجون اللحام IPC SMT والعيوب الشائعة
يقدم هذا الفيديو التعليمي المحايد من تدريب لين سيكس سيغما خلفية للمعمل المراقب. يظل الدليل المكتوب كاملاً دونه.
الأسئلة الشائعة
هل يمكن تنظيف كل رف مجلات لوحات دوائر مطبوعة بالكحول؟
لا. قم بتأكيد التوافق مع الهيكل الكامل، والملصقات، والمواد اللاصقة، والآليات قبل الموافقة على أي منظف.
هل يجب استخدام الهواء المضغوط في مجاري التوجيه؟
فقط عندما تسمح إجراءات المنشأة المكتوبة بذلك وتتحكم في إعادة توزيع الجسيمات. قد تكون عملية التنظيف بالمكنسة الكهربائية أو المسح المتحكم فيه أكثر ملاءمة.
ما الذي يجب التحقق منه بعد التنظيف؟
تحقق من الجفاف، والرواسب، وحالة الفتحة، ومحاذاة اللوحة، والعرض، والأقفال، والمصدات، وحركة الألواح، والملصقات، وأي تحقق مطلوب من التفريغ الكهروستاتيكي (ESD).
متى يجب عزل الرف (الراك)؟
اعزلها بسبب التلوث غير المKNOWN، أو الفتحات التالفة، أو الانتفاخ، أو التآكل، أو فشل الضبط، أو الأجزاء المفكوكة، أو فشل التحقق.
مراجع موثوقة
أحدث مشاركة
-
-
 ESD Waste Bins for Electronics Production Areas17 أكتوبر,2026
 -
 ESD Wipe Laundered vs Nonwoven: Which Fits the Process?17 أكتوبر,2026
اترك ردًا