- 터보
- 블로그
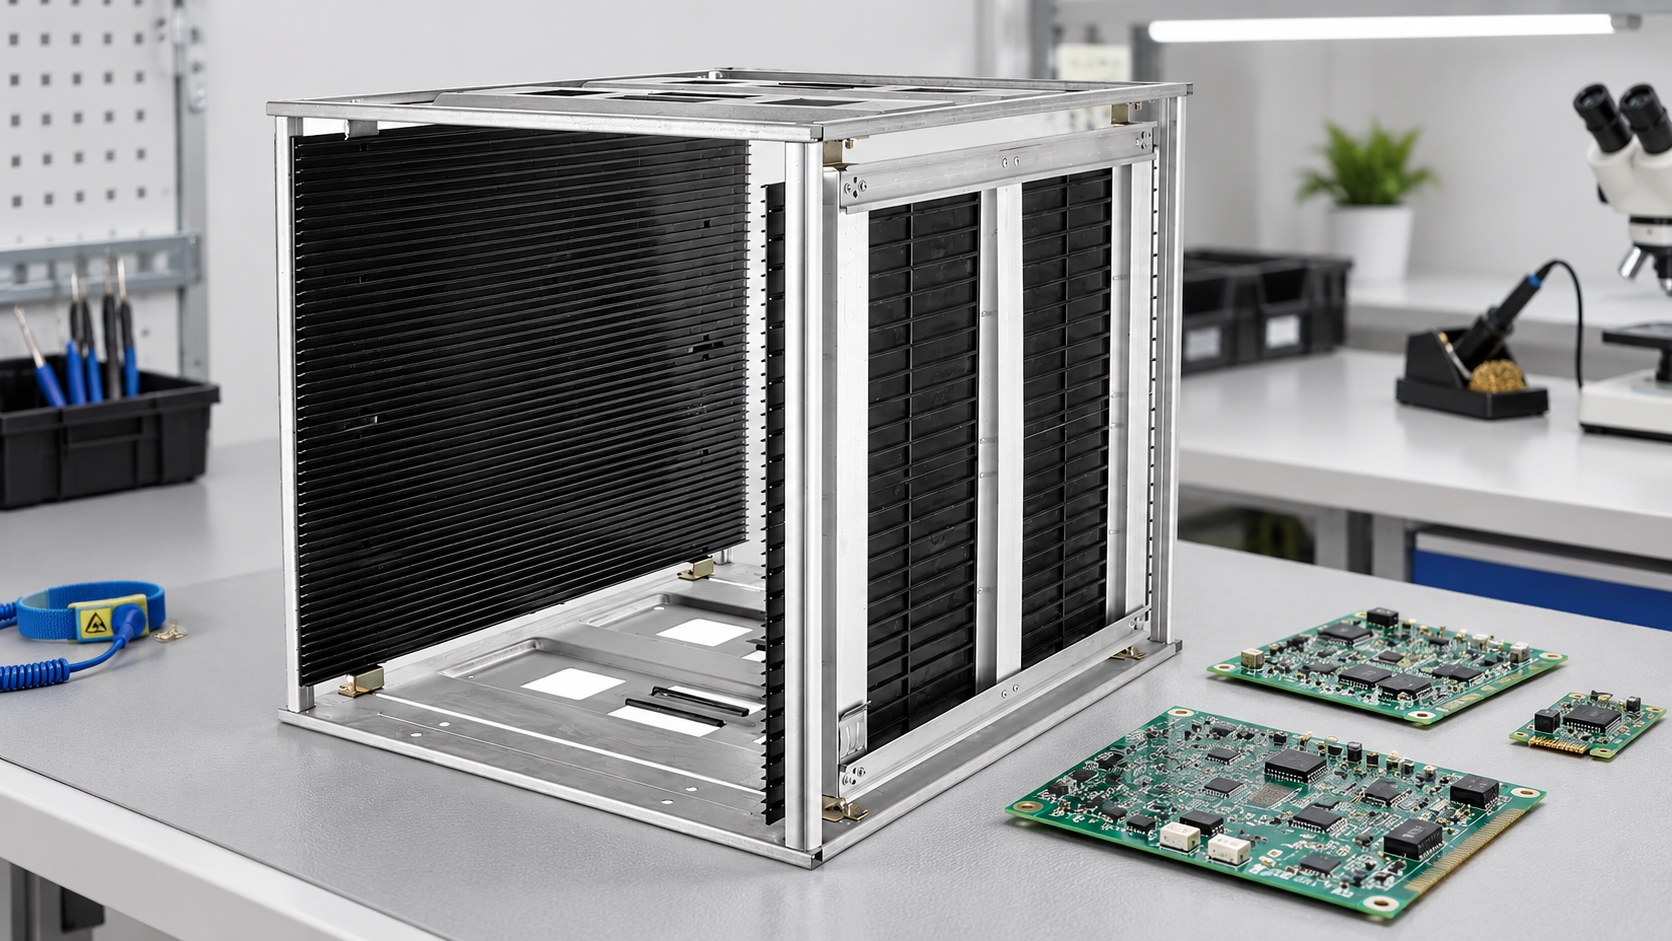
A PCB magazine rack inspection before reuse should establish three things: the frame and slots still hold boards without damage, the rack still meets the site’s ESD control plan, and its identity and maintenance history are clear. Start with an empty, cleaned rack and its approved model or revision. Inspect the base, corners, adjustment mechanism, every relevant groove and any replaceable panel. Then load representative boards at the required thickness extremes, verify normal movement, and record the disposition. A rack that merely looks intact should not automatically return to production, especially after a drop, jam, heat exposure or informal repair.
Check the rack’s identity and last use
Read the permanent rack ID, model, revision and service status. Confirm whether it has been cleaned, repaired, exposed to a thermal process or quarantined. Remove stale PCB lot travelers before evaluating reuse; a label from a previous job can create a traceability failure even if the rack is mechanically sound. If the ID is missing or ambiguous, hold the rack until its history can be reconciled rather than assigning a new number over the old one.
Ask why it was taken out of service. Routine empty return is different from a loader jam, collision, fall, chemical spill or failed electrical check. The inspection scope should expand with the event. The EOS/ESD Association’s auditing guidance
Clean by the approved method before judging condition
Dust or adhesive residue can hide cracks and alter contact surfaces. Clean the rack using the site-approved agent, tools and drying procedure. Do not wash or heat a rack based only on its appearance or an unrelated product’s cleaning instruction. Look for trapped debris in the grooves and around fasteners, but avoid sharp tools that gouge the slot. The PCB magazine rack cleaning guide
Inspect after the rack has reached the specified dry and temperature condition. A wet or warm surface may give misleading dimensional or electrical readings. Record any stain, chemical attack, softening or unusual odor as an observation for the responsible owner. Do not assume the condition is cosmetic; it may indicate a material change that the original qualification did not cover.
Inspect the frame, base and joints
Check the top and base for twist, cracks, missing feet, sharp protrusions and evidence of impact. Inspect vertical rods, panel supports, screws and locks for looseness or corrosion. Set the rack on its approved supporting surface and confirm it sits securely without rocking. A rack may stand upright while one corner is lifted enough to change how it docks into a loader. If the model is adjustable, move it through its permitted range and verify that it locks at the required settings.
Do not bend a distorted frame back by hand and mark it “good.” A repair can change alignment or electrical contact. Route damaged racks through the approved maintenance and requalification process. The replacement-parts guide
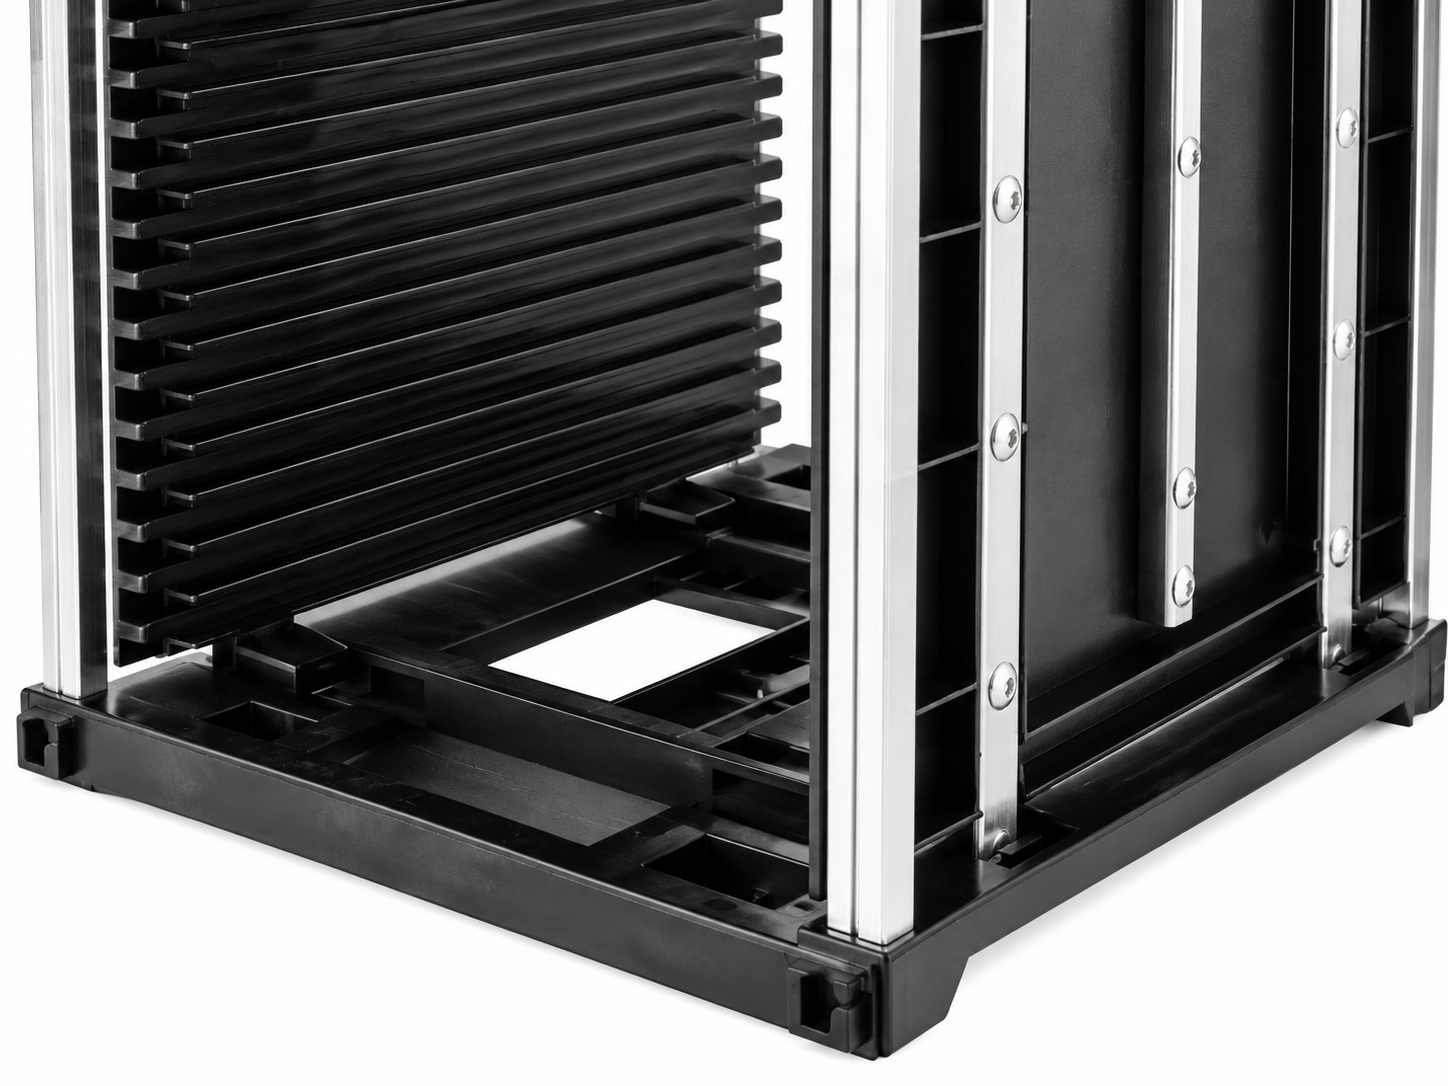
Check slots and paired-panel alignment
Inspect the entry to each slot used by the next product. Look for chips, burrs, widening, narrowing, bent teeth or foreign material. Confirm that opposite grooves align at the same height and support the board evenly. A defect on one side can scrape a solder-mask edge even when the other side looks perfect. Pay attention to the first and last slots, which can be missed during a quick mid-panel glance.
Measure suspect grooves by the approved method and compare them with the accepted rack or drawing. Use the same reference points each time. NIST’s measurement terminology
Check panel-to-panel spacing at the top, center and bottom of the rack. An adjustable design may have a correct width at one height but taper because a rail slipped. Close the locking mechanism after each adjustment and repeat the measurements; a rack that only stays aligned while someone holds the panel is not ready for use. Compare with the accepted setting range, not with an arbitrary visual idea of parallel. If grooves are numbered, note any failed positions explicitly so the repair team can find them.
Use a release-decision table
| Inspection area | 증거 공개 | Hold condition |
|---|---|---|
| Rack identity | Unique ID and approved revision | Missing or conflicting identity |
| 프레임과 베이스 | Stable, aligned, undamaged assembly | Twist, crack, loose joint or unsafe edge |
| Grooves | Clean, aligned and within approved fit range | Chip, burr, binding or board scrape |
| 조정 | Repeatable setting and secure lock | Slip or inconsistent width |
| ESD performance | Site-approved verification result | Missing or failed electrical evidence |
| 추적성 | Old lot association cleared | Stale traveler or unresolved prior product |
Use controlled limits from the rack drawing and ESD program; this table intentionally does not invent a universal resistance or dimensional tolerance. The illustrated magazine rack product
Run a board-loading check
Use a representative board or dimensionally faithful gauge. Include the thinnest and thickest conforming boards where the same rack handles a range. Insert and remove from the first, middle and last slots in the normal orientation. Watch for scraping, twisting, excessive force, rocking or contact with populated components. If the rack is used in automated equipment, trial its docking and machine feed after a repair or impact event. A manual bench fit may not reveal loader misalignment.
Observe the rack from both sides while a board is loaded. It should enter matching grooves at the same level, not ride over a worn tooth on one panel. Check that the board’s supporting edge is the one approved by engineering; a different board revision may have a connector or exposed copper closer to the edge. Record a failed trial with the board revision and rack setting. Do not declare a rack damaged if the sample board itself is warped or out of tolerance without investigating both items.
Verify ESD properties in the used condition
Mechanical fit is necessary but not sufficient. Worn grooves, cleaning residue, replaced panels or a loose metal joint can change ESD behavior. Test the defined surfaces and assembled path by the site’s approved instrument, conditioning and frequency. The EOS/ESD Association’s materials guidance
Check any grounding or bonding arrangement as it is actually used on the bench, cart or machine. The magazine rack grounding guide
Decide whether to release, repair or retire
Release only when required inspection evidence is complete and no unresolved hold remains. Repair only with approved parts and a documented method, then recheck the affected dimensions and ESD properties. Retire a rack when damage cannot be corrected or its identity and qualification cannot be established. Do not cannibalize parts between revisions without engineering approval. A temporary production shortage is not a reason to put an unqualified rack back into service.
Record the decision with rack ID, event, inspector, date, inspection points, results, corrective action and approver. If the rack caused a board jam or fall, link the affected product lot to the investigation. The OSHA warehousing guidance
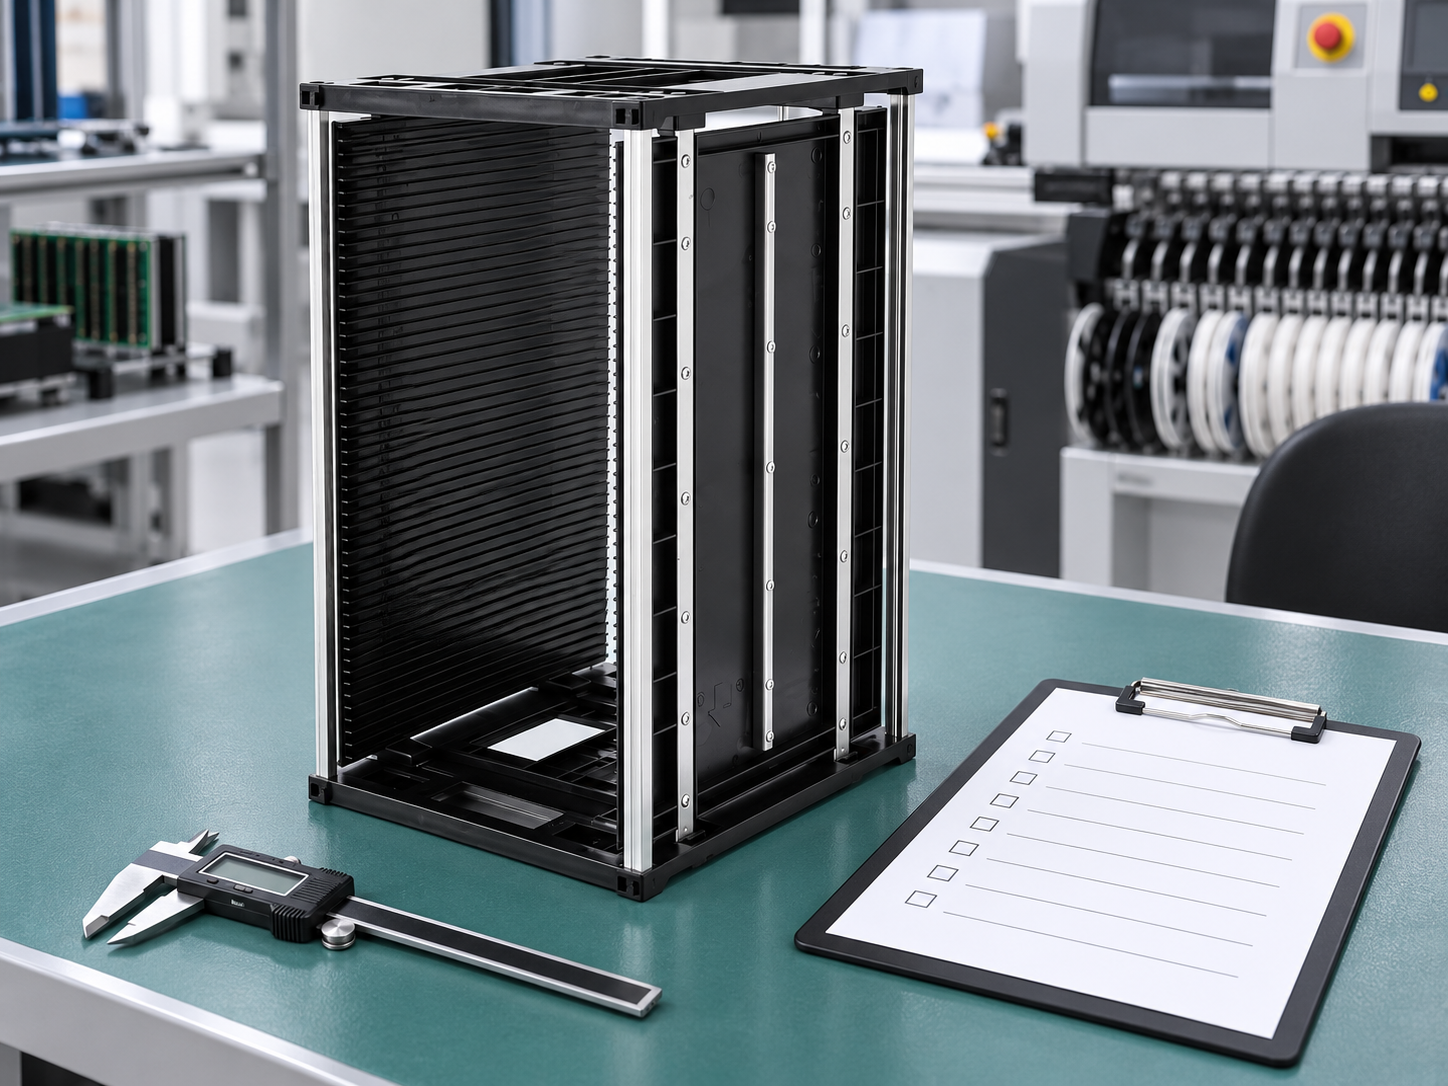
For a purchased used rack, ask for its model, material revision, previous service and repair history before accepting it into the pool. A low price is not enough if the part cannot be identified or qualified. Inspect a sample of the shipment on receipt, then set an acceptance plan for the remaining units. Keep newly acquired used racks physically separate from approved in-service racks until both mechanical and ESD checks pass. If the supplier cannot identify the replacement panels or the original ESD material, decline to use the rack for exposed sensitive boards.
Build a practical inspection rhythm
Use the site’s approved interval, plus event-triggered checks after a drop, collision, abnormal jam, thermal exposure, chemical incident, cleaning deviation or repair. Train operators to flag a suspect rack immediately. The inspection station should have a controlled reference rack or drawing, suitable gauges, the ESD test procedure and a clear hold area. Without those, “inspect before use” becomes an unreliable instruction.
Review trend data by model and failure location. If many racks show wear at the same slot, investigate board-edge condition, handling angle, loader setup or cleaning tools rather than replacing panels indefinitely. If labels repeatedly peel or confuse operators, fix the label workflow. The rack labeling and lot-traceability guide
Periodically compare inspectors’ decisions on the same borderline rack under controlled conditions. If one person passes a groove another rejects, the written acceptance example may be too vague. Add photographs of representative acceptable and unacceptable conditions, then verify that operators can apply them without guessing. Keep photographs linked to the exact rack design and revision so a later model with different slot geometry does not inherit the wrong visual standard.
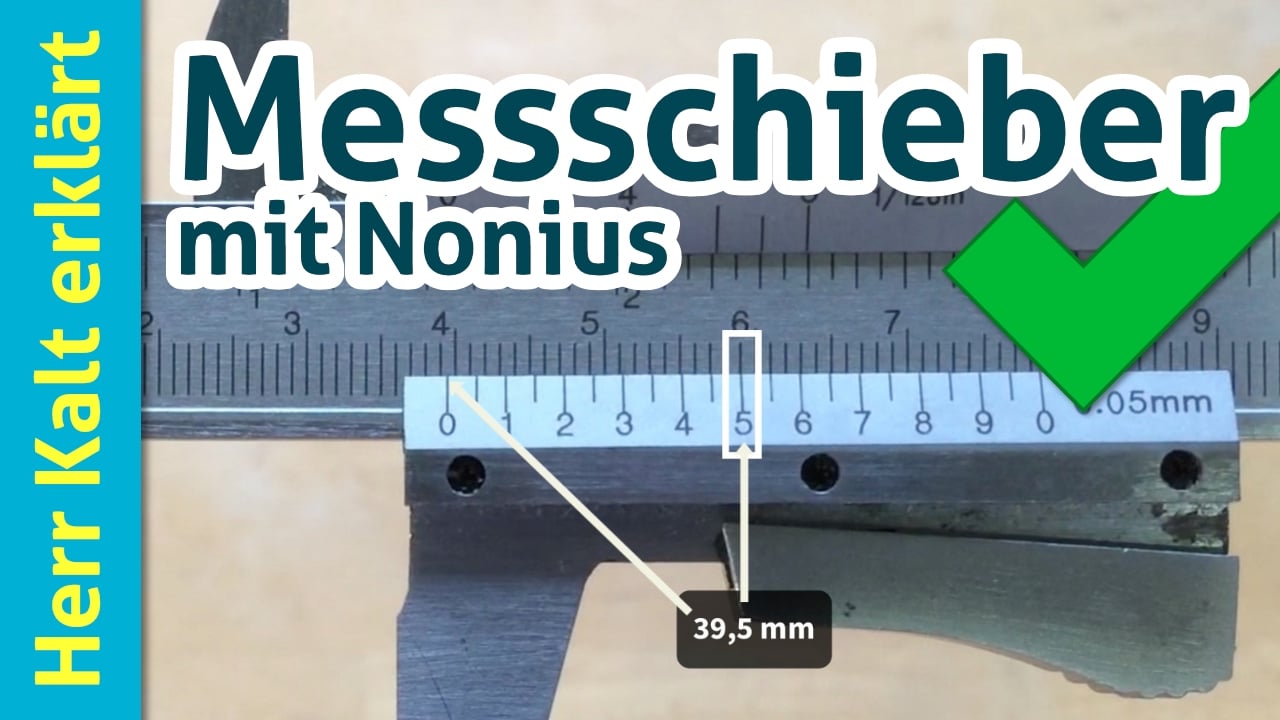
Video: repeatable dimensional checks
This independent caliper lesson explains a basic measurement technique useful when checking grooves and frame features. Follow the site’s controlled gauge method and acceptance limits for the actual rack.
자주 묻는 질문
Can a rack be reused just because it looks clean?
No. Confirm identity, mechanical fit, ESD performance and traceability under the approved inspection plan.
Which slots should be checked?
Inspect all relevant slots and load representative boards in first, middle and last positions; expand sampling after damage.
What if a panel was replaced?
Verify approved part revision, assembly fit and affected ESD properties before release.
Does a passing manual fit guarantee loader compatibility?
No. Recheck machine docking and automated feed when those are part of the rack’s use.
What should happen after a failed inspection?
Hold and identify the rack, protect affected boards, document the finding and obtain approved repair or disposition.

댓글 남기기