- Turbo
- Blog
An ESD component organizer for a repair or rework station should separate incoming assemblies, approved replacement parts, removed parts, tools and completed work without losing identity. Choose a drawer or bin layout from the technician’s actual work sequence, not from the number of compartments available. Keep each part and lot in an identified protective package until the approved EPA procedure opens it. Put frequently used, low-risk supplies within comfortable reach, and give held or removed material a distinct location. A black cabinet can support organization, but the station’s grounding, packaging, training and process controls determine ESD suitability.
Map the rework sequence first
Observe a typical job: receive the failed assembly, confirm work order and revision, collect replacement parts, perform the approved rework, inspect, test, and return or quarantine the unit. Mark where each physical item waits. If removed parts and new replacement parts share a drawer, the organizer creates a mix-up risk. Give them separate labeled positions and require a record when a part changes status.
IPC’s rework and repair standards overview describes procedures for rework, modification and repair of electronic assemblies. The organizer supports those approved procedures; it is not itself a rework instruction or acceptance standard.
| Station zone | What belongs there | Identity needed | Mix-up to prevent |
|---|---|---|---|
| Incoming job | Assembly awaiting work | Work order, serial or lot, status | Unreviewed unit treated as released |
| Approved replacement parts | Sealed parts for this job | Part, revision, lot, quantity | Wrong alternate installed |
| Removed material | Failed or displaced parts | Job link and disposition | Removed part returned to new stock |
| Tools and consumables | Approved station equipment | Tool status where required | Expired or unapproved material used |
| Completed job | Inspected assembly | Test and release record | Untested board issued onward |
The table is a workflow map. Adapt locations and records to the site’s quality system and the specific repair procedure.
Preserve ESD controls at the drawer
A drawer reduces clutter, but it does not automatically make bare components safe. Define the EPA boundary, work surface, personnel grounding and protective packages. The EOS/ESD Association’s ESD fundamentals explain how material handling containers fit a control program. Keep sensitive parts in the required package until the technician is ready to handle them under the approved conditions.
Do not put a used part back into a drawer of new parts. Even if both parts look identical, the removed part has a different status and must remain linked to the job. If the drawer is reused for another part family, clean it, remove the old material label and verify the new identity first.
Put frequently used items within easy reach
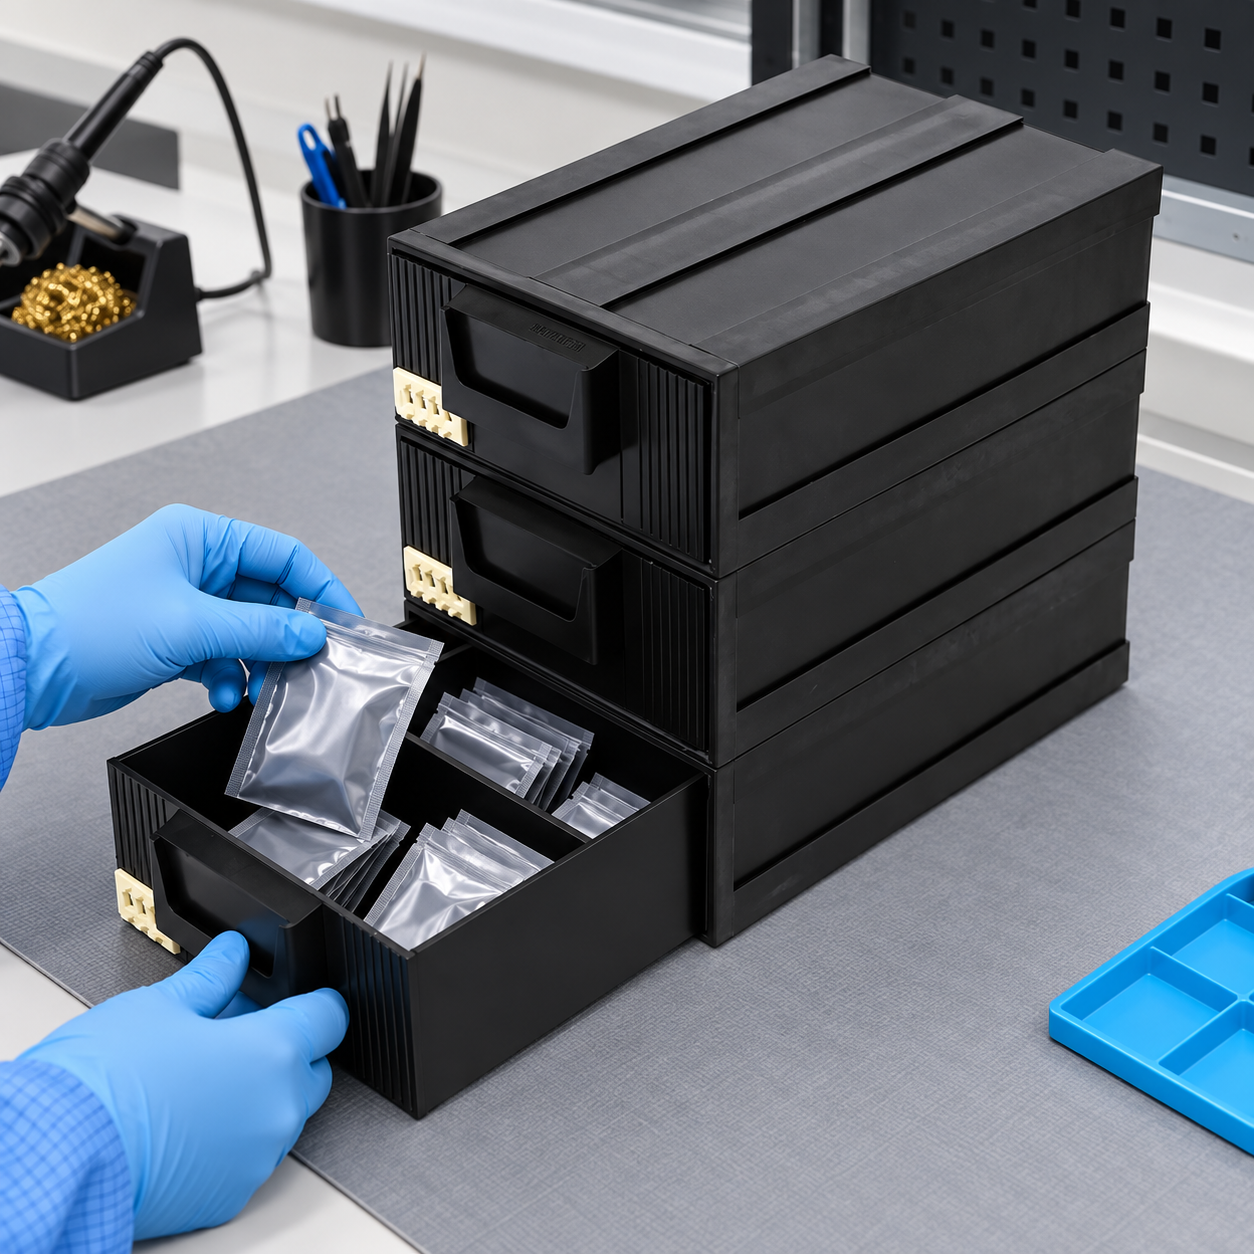
Place the most frequent approved parts and tools near the working position without blocking the assembly or soldering equipment. Avoid requiring repeated high reaches or deep bends to retrieve small packages. NIOSH’s ergonomics guidance emphasizes matching work layout to the worker and reducing awkward postures. Test the arrangement with technicians wearing the gloves they normally use.
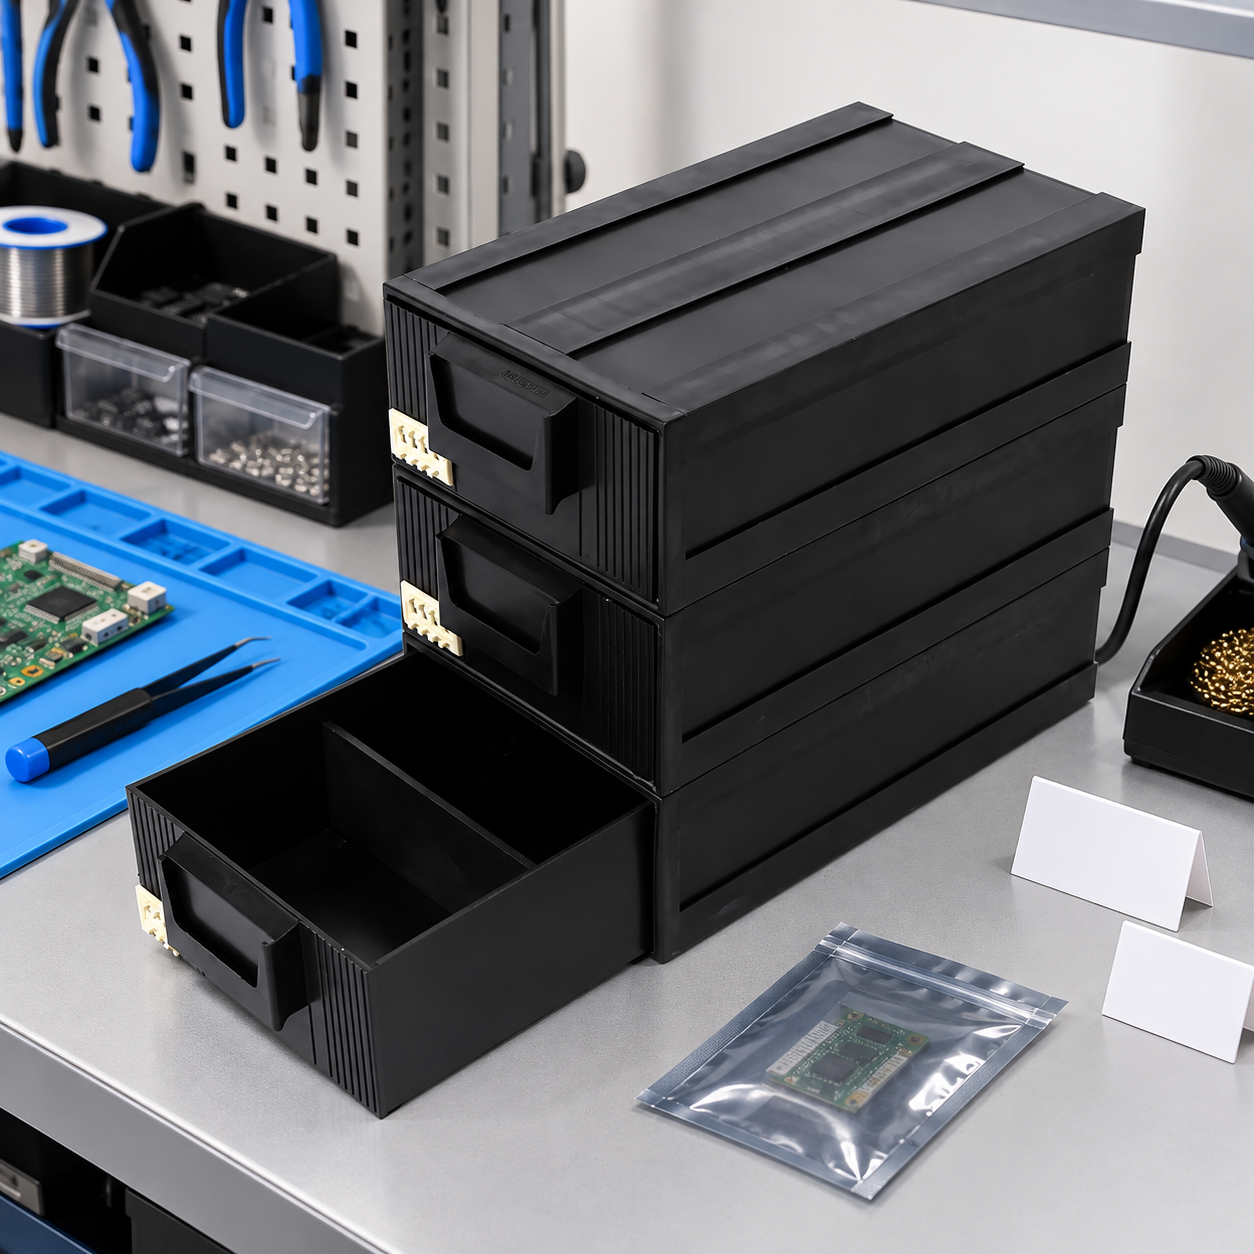
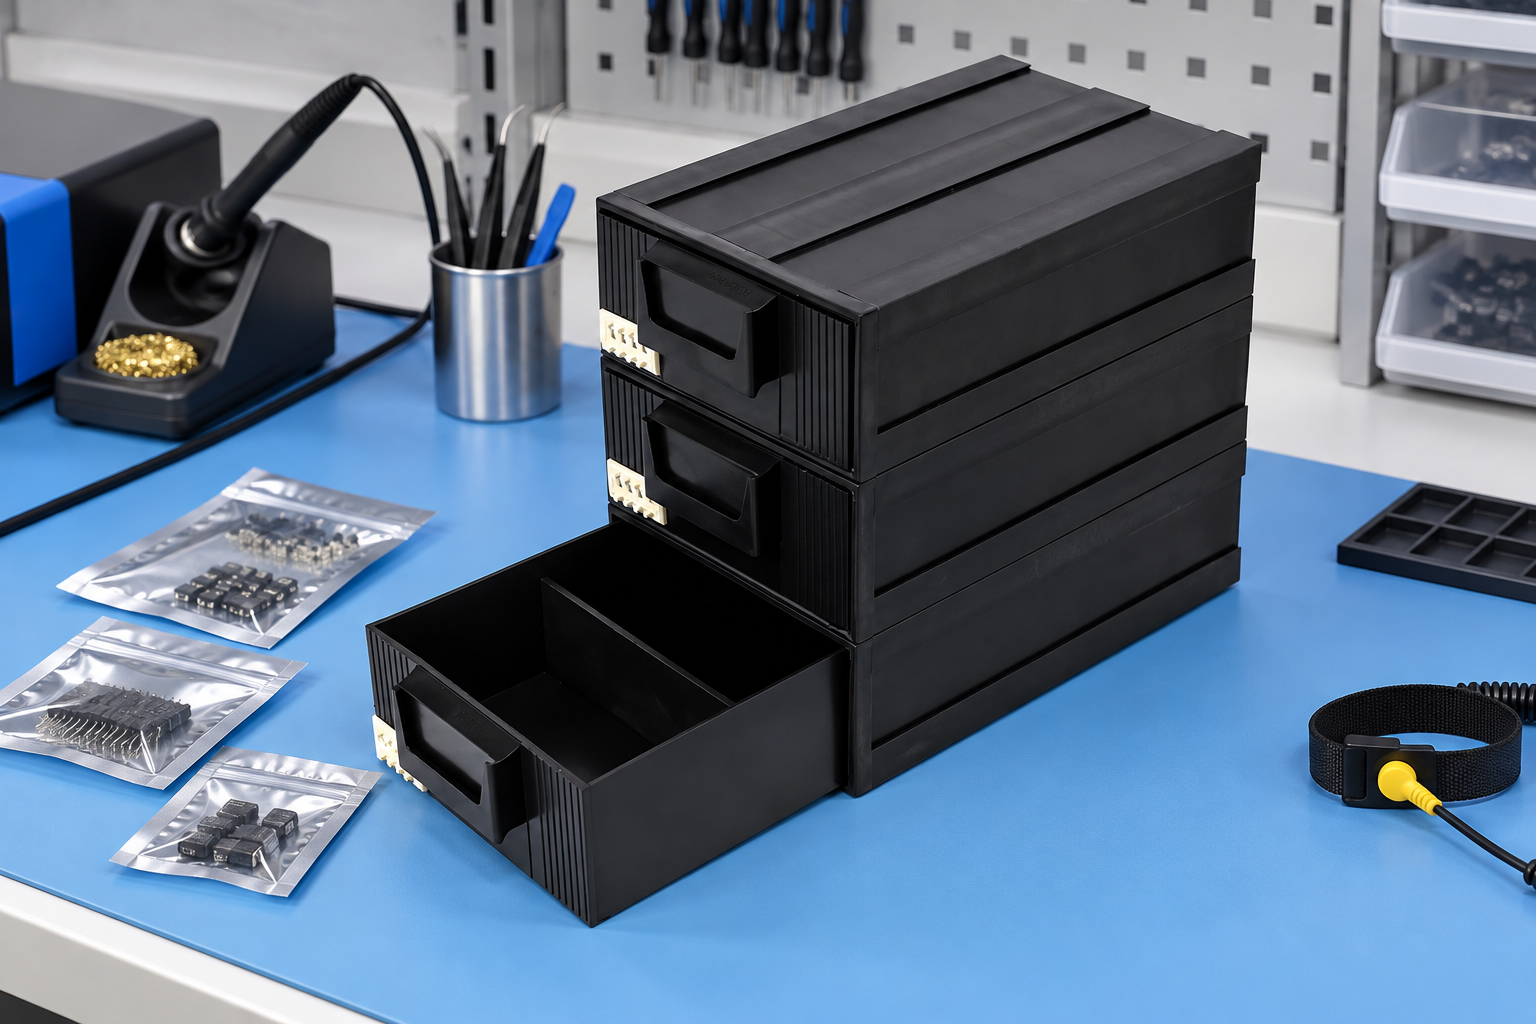
The SWESD drawer-style ESD component bin is the product reference for these illustrations. Confirm its actual dimensions, material and load before using it in a station design. The visible cabinet has three drawers and an inset pull handle; the drawing is not proof of an electrical property or a part-specific fit.
Give each job a clear parts kit
Prepare a work-order kit with the approved replacement parts and quantities. Keep the original supplier lot and revision visible. If the technician uses a partial pouch, record the remaining quantity and return it through a controlled process. Do not rely on a drawer location alone to identify the contents after a shift change.
GS1 US describes how barcode identification supports inventory and locations in its inventory overview. A site can use internal IDs, but the system should still distinguish cabinet asset, drawer position, material unit and work order. The labeling and MES guide explains the same identity layers in a tray workflow.
Control removed parts and evidence
Some jobs require saving a removed component for analysis. Give it a dedicated protected package, job ID, orientation and condition note. If it is scrap, mark that status clearly and keep it out of the replacement-parts drawer. Separate temporary “awaiting quality review” material from final scrap and released stock.
Photograph or record the assembly and removed part before cleaning the station when the investigation needs that evidence. A tidy organizer is useful only if it preserves the information that explains what happened.
Make drawers visible without crowding them
Assign one purpose to each drawer or use a qualified internal divider. A drawer with too many mixed pouches can make the wrong package easy to pick. Use large, readable labels outside the movement path; a label should not be trapped between the drawer and frame. Test scan angle, drawer opening and glove grip. Confirm the selected cabinet format with a production-intent sample before buying for every station.
Keep a small empty space for the current job rather than filling every drawer to capacity. When the job closes, clear and reconcile that space before the next work order arrives. This reset prevents leftover parts from one assembly being mistaken for authorized material on the next.
Inspect and clean the station between jobs
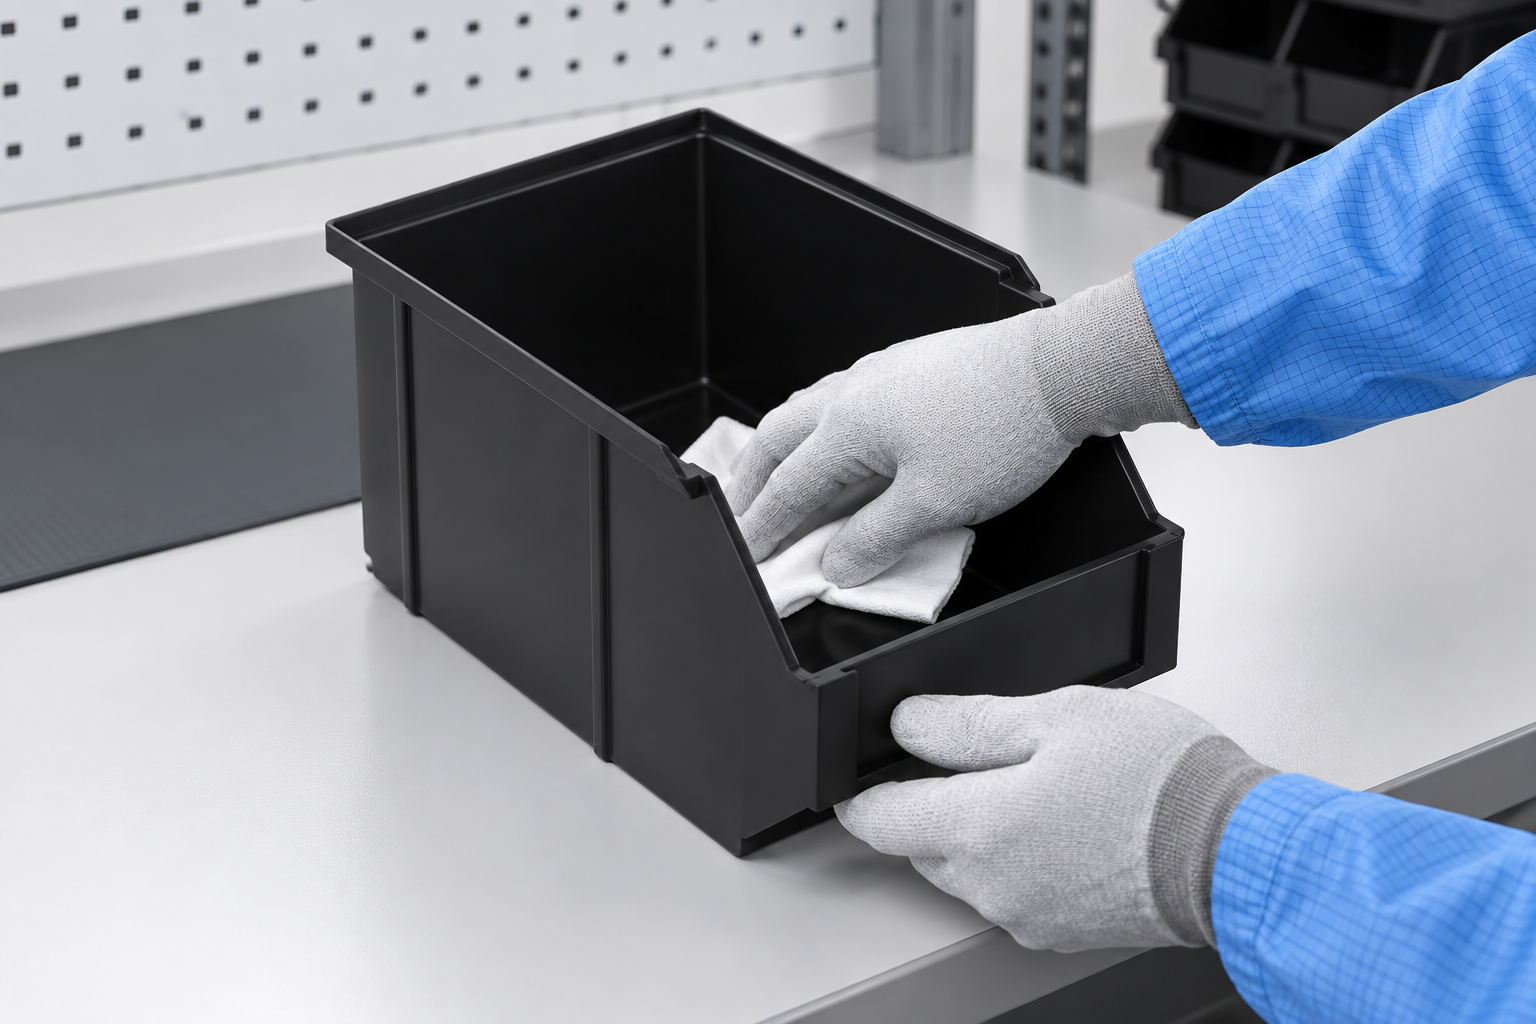
Remove loose particles, old labels and package scraps using the approved method. Check drawer travel, front lip, handles and contact surfaces for cracks or residue. Keep cleaning agents away from sensitive material unless the procedure permits them. A damaged drawer that catches a pouch should be quarantined rather than forced back into service.
The ESD bin cleaning guide describes how to qualify a return-to-use process for reusable containers. Apply the same change-control logic to a drawer cabinet, including the actual polymer and accessories.
Run a station pilot
Simulate several job types: a simple replacement, a part with two approved alternates, an unknown removed part, a partial pouch, and an interrupted job handed to another technician. Observe whether the next person can tell what is new, removed, held and released without asking the previous shift. Count wrong picks and time spent looking for material.
Review the pilot with quality, repair and inventory teams. Adjust drawer assignments and labels before standardizing the station. A station that is easy for one experienced technician may not be self-explanatory to a trained relief operator.
Design the handoff between shifts
Interrupted repair work creates a special risk: an assembly may be open, a replacement part may be removed from its pouch, and a failed part may still sit on the mat. Provide a protected, identified holding location for the entire job state. The handoff record should say which steps are complete, which parts are still approved, and which material must remain quarantined. Close or protect any exposed sensitive item according to the site’s ESD procedure before the technician leaves.
At the next shift, the receiving technician should be able to match the physical assembly, work order, parts kit and drawer positions without relying on memory. Require a short review before work resumes. If a pouch or label is missing, stop and resolve it before replacing the component. The organizer should make an abnormal condition obvious, not hide it in a closed drawer.
Keep only approved inventory at the bench
Repair stations tend to accumulate useful-looking leftovers. Review each drawer regularly for obsolete revisions, incomplete labels, expired consumables and parts with unknown provenance. Return approved excess to central stock through a recorded transaction. Scrap or quarantine anything that cannot be identified under the site’s quality rule. A small, correct local inventory is more useful than a crowded cabinet.
When an alternate part is approved for a specific job, label its package with that authorization and work-order link. Do not make it a permanent cabinet substitute unless engineering updates the controlled parts list. This preserves traceability if a later failure investigation asks which exact part was installed.
Test the organizer after a typical busy shift, not only when it has been freshly arranged. Check whether the current-job space is cleared, removed parts remain segregated, and replacement stock still matches the drawer record. Use recurring findings to revise labels, drawer assignments or the number of parts kept at the station.
Implementation checklist
- Work sequence and defined station zones.
- EPA boundary and protective packaging rules.
- Cabinet and drawer dimensions, load and cleaning method.
- Drawer identity, part lot and work-order links.
- New, removed, hold, scrap and released status separation.
- Gloved reach and scan trial.
- Job closeout and station reset procedure.
For upstream inventory handling, see high-mix ESD component storage ve line replenishment. The rework station is the final controlled handoff for those parts.
Further learning: ESD control in repair work
This EOS/ESD Association lecture gives the electrical-control background for an organized rework station.
Sık sorulan sorular
Can removed parts share a drawer with replacements?
No. Keep their status and work-order identity separate to prevent accidental reuse.
Does a black drawer cabinet create an EPA?
No. The facility must define grounding, surfaces, packaging, personnel and procedures.
How should a partial pouch be returned?
Record the parent lot, remaining quantity and package condition before assigning a reviewed location.
What should happen at job closeout?
Reconcile parts, clear the current-job space, remove old labels and record release or hold status.
When should the station layout be retested?
After changes to repair process, parts, cabinet, labels, equipment or handling route.
Bir Yorum Bırakın