- Turbo
- Blog
ESD picking bins should make a protected electronic part easy to identify and remove without damaging its package or confusing its lot. Start with the component package and pick frequency, then choose a front opening, shelf height, bin depth and label position that operators can use repeatedly. Keep the bin asset, shelf location and material unit as separate identities. A front-opening bin improves access, but its shape or black color does not establish discharge shielding, moisture protection or a safe handling procedure. Validate the bin with the real pouch, scanner, shelf and replenishment route before stocking the line.
Choose the bin around the package
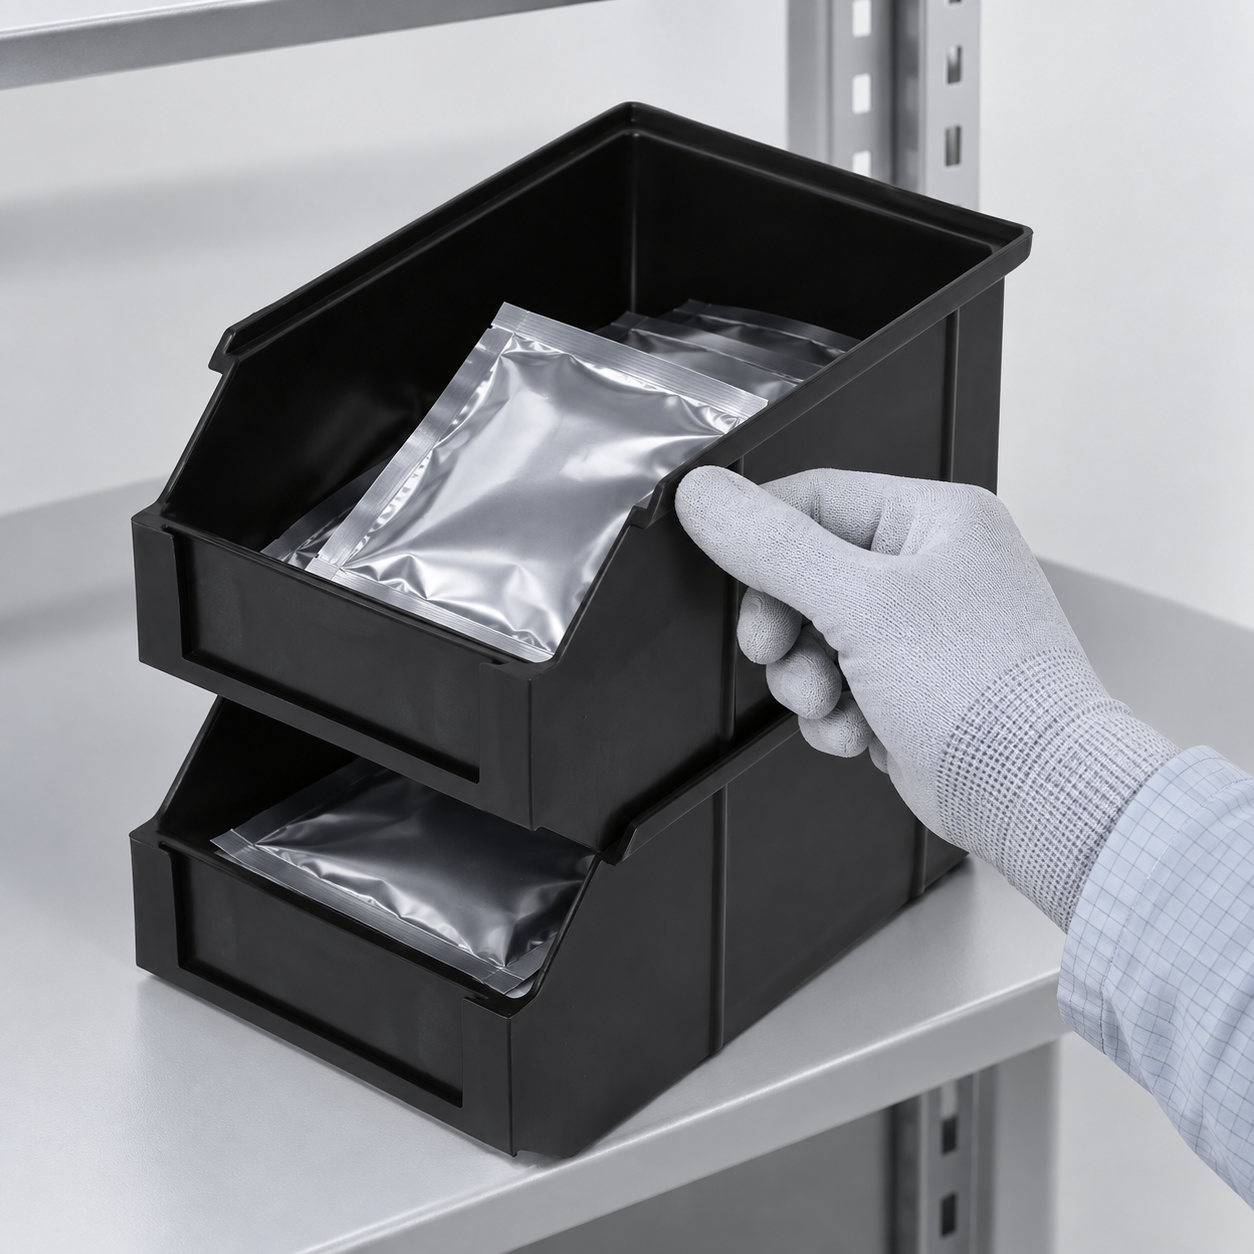
Measure the sealed pouch, tape segment, reel or tray that will be picked. Include the width needed for a gloved hand and enough space to withdraw the package without scraping the bin rim. A bin that fits the nominal part may still be too narrow for the protective package. Check the loaded weight and shelf support, and keep heavy items where operators can handle them comfortably.
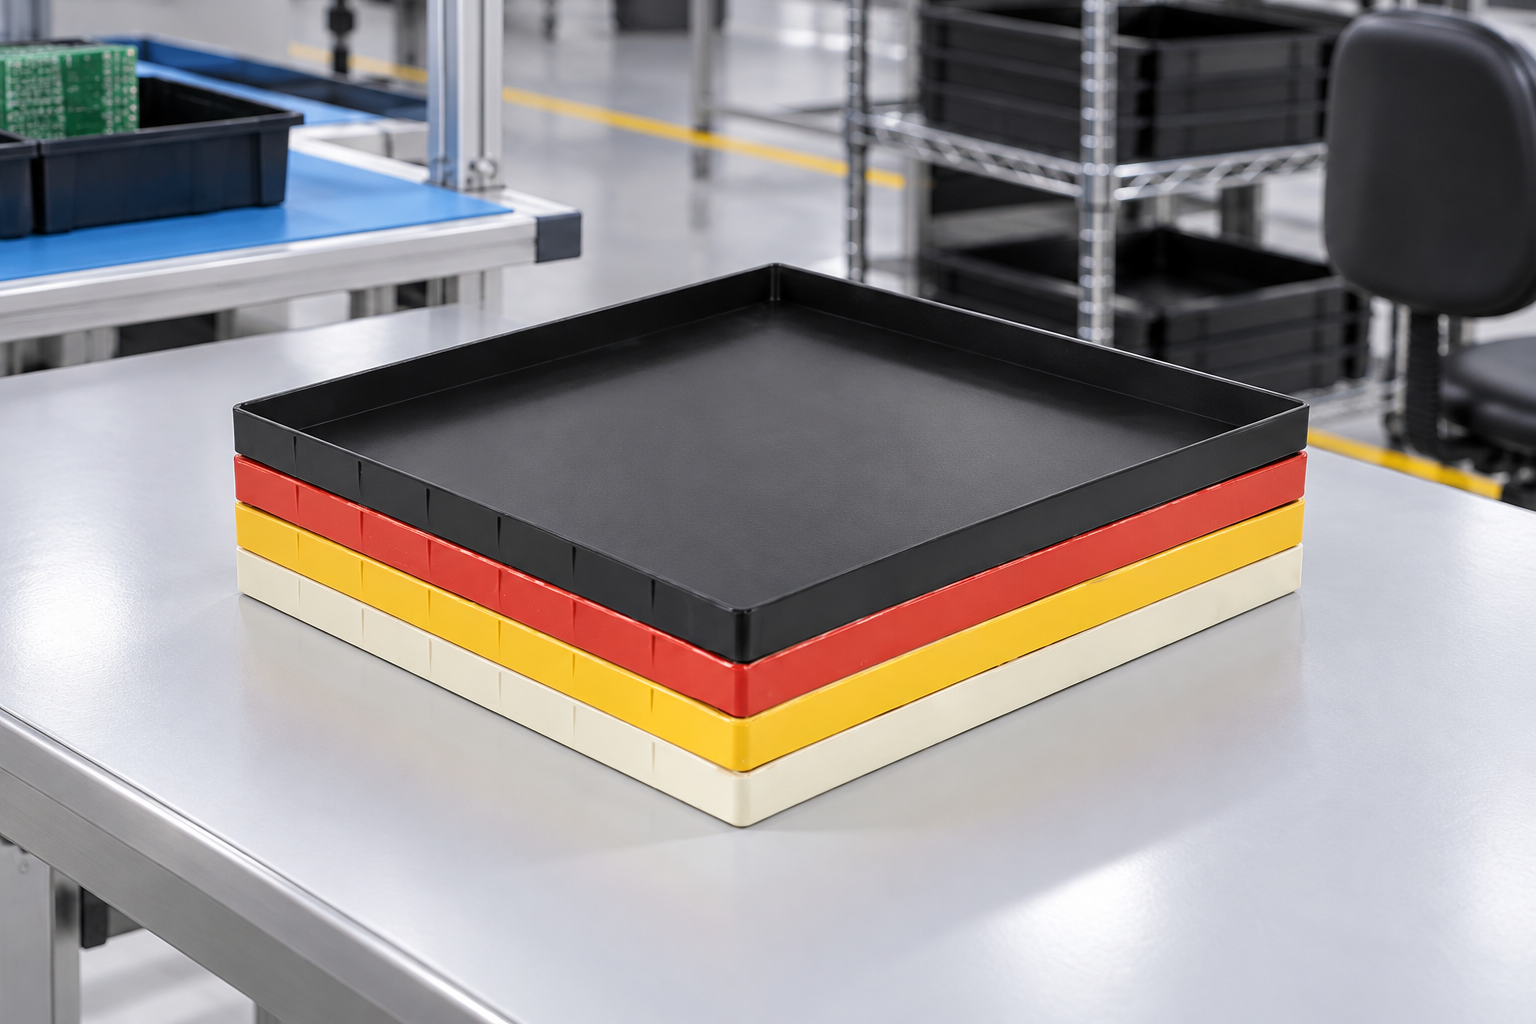
O SWESD front-opening component bin is the product reference for the examples here. Confirm the actual dimensions, material and load with the supplier for the proposed part. NIOSH’s ergonomics guidance explains why repetitive picking, awkward reaches and load handling deserve attention. Apply that principle to the site layout rather than relying on one generic bin size.
| Selection point | Check on the real shelf | Evidence to record | Failure to avoid |
|---|---|---|---|
| Front opening | Gloved hand removes an intact package | Pick trial and damage check | Pouch scraped on rim |
| Depth and height | Oldest package stays visible | Loaded fit and reach trial | Hidden or mixed lots |
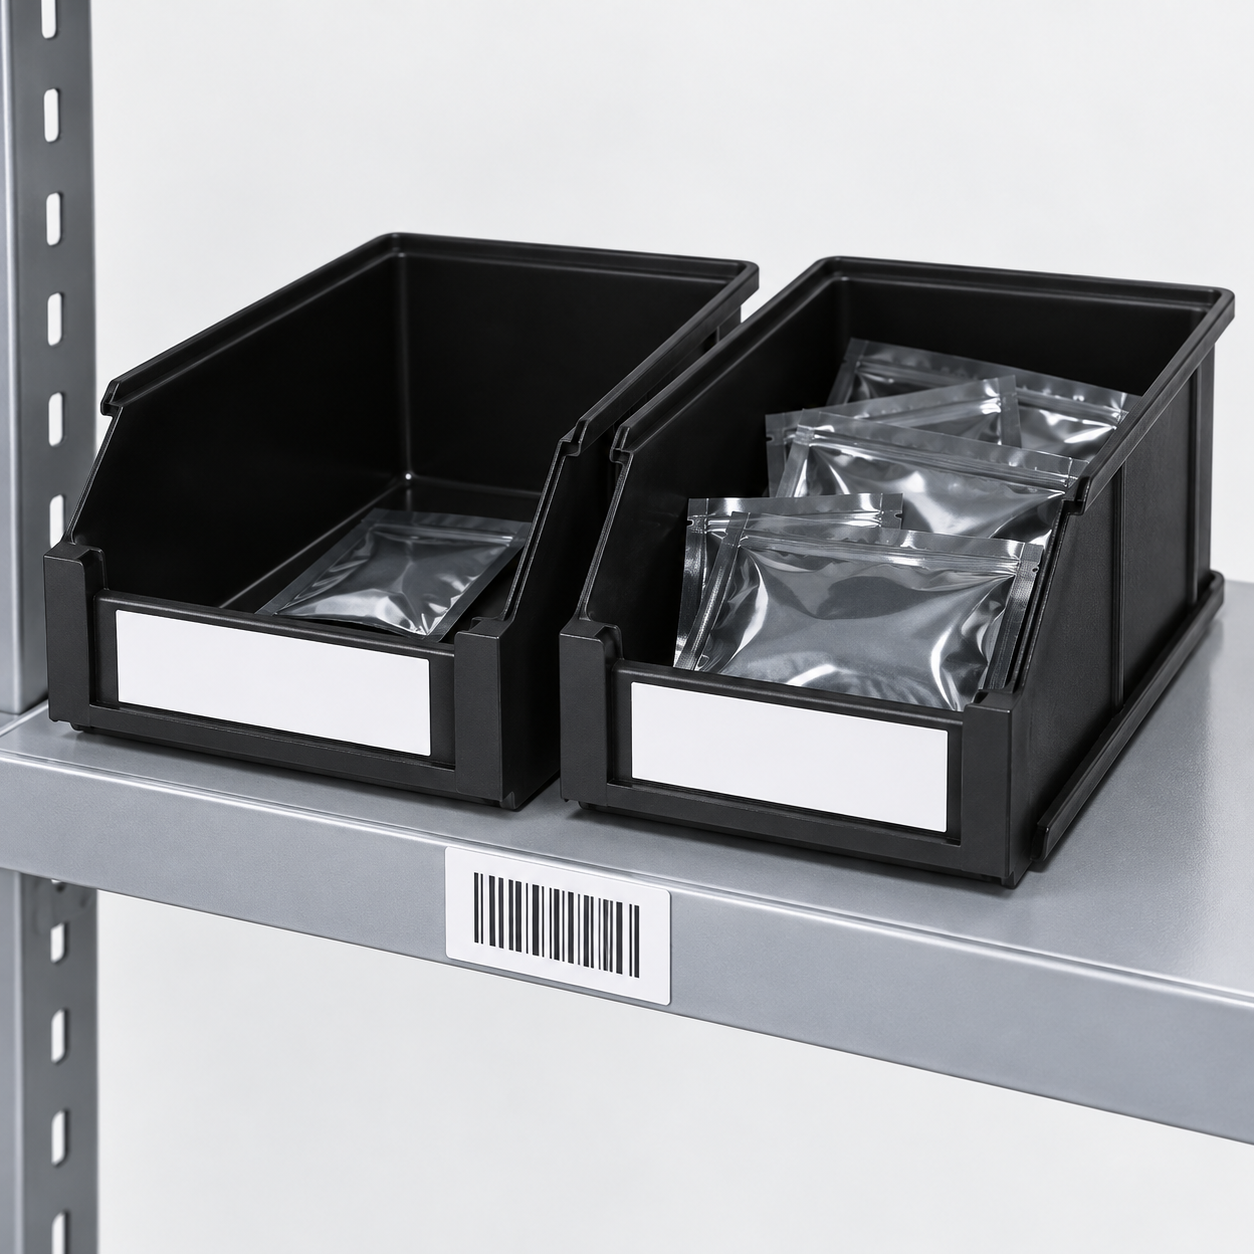
| Label position | Operator and scanner can read it | Read trial at working angle | Label covered by a hand |
| Load and stability | Full bin stays supported | Maximum load and shelf check | Rocking or overloading |
| Cleaning | Interior can be inspected and wiped | Approved cleaning trial | Residue in rear corners |
Use site requirements for numerical acceptance limits. The table is a practical decision guide, not a claim about a particular bin’s tested capacity.
Keep the ESD boundary explicit
The bin may hold closed protective packages in a warehouse or support controlled handling inside an EPA. These are different use cases. The EOS/ESD Association’s ESD fundamentals describe material handling containers inside an EPA and the additional protection needed when sensitive items move outside it. Specify the component sensitivity, package state and route before deciding what the bin material must do.
A bin with an open front is not automatically appropriate for bare sensitive parts outside an EPA. Keep the approved pouch sealed until an authorized process opens it. If the part must be handled bare, perform that work in the designated controlled area and verify that the bin and work surface fit the ESD program.
Give every pick face a stable identity
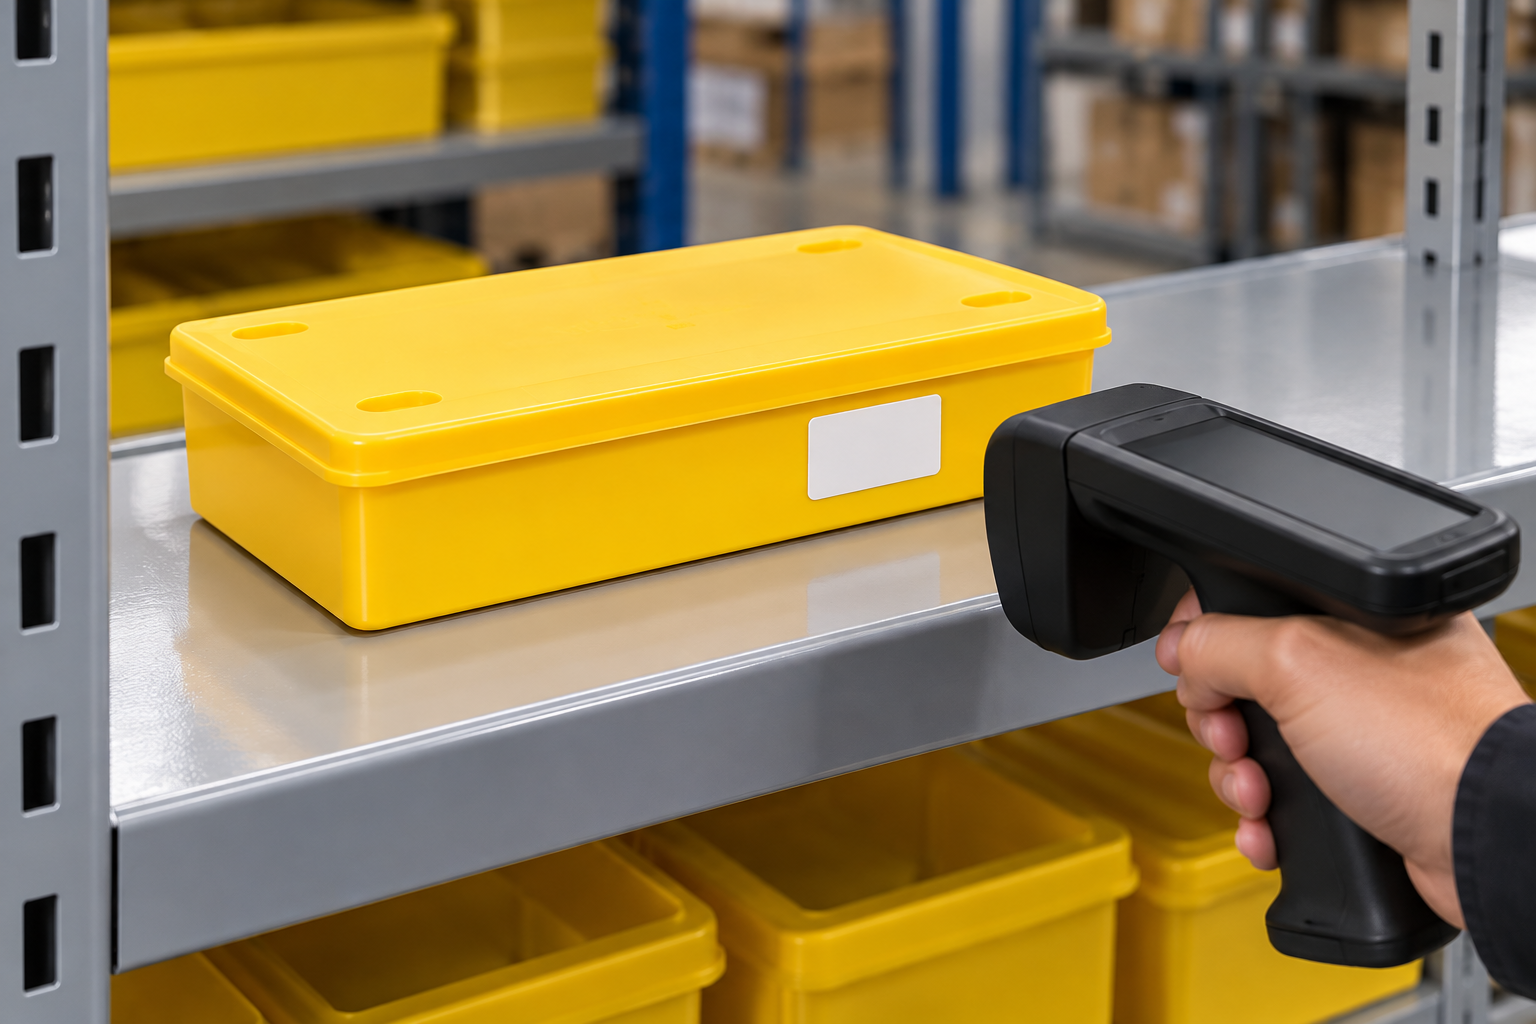
Label the shelf or bin position with a location ID that does not change when the contents change. Identify the material unit with part number, revision, lot, quantity and status. Identify the reusable bin as an asset only if the site tracks it. GS1 US explains how barcodes support inventory and locations in its inventory management overview. Internal codes can also work if they are unique and controlled.
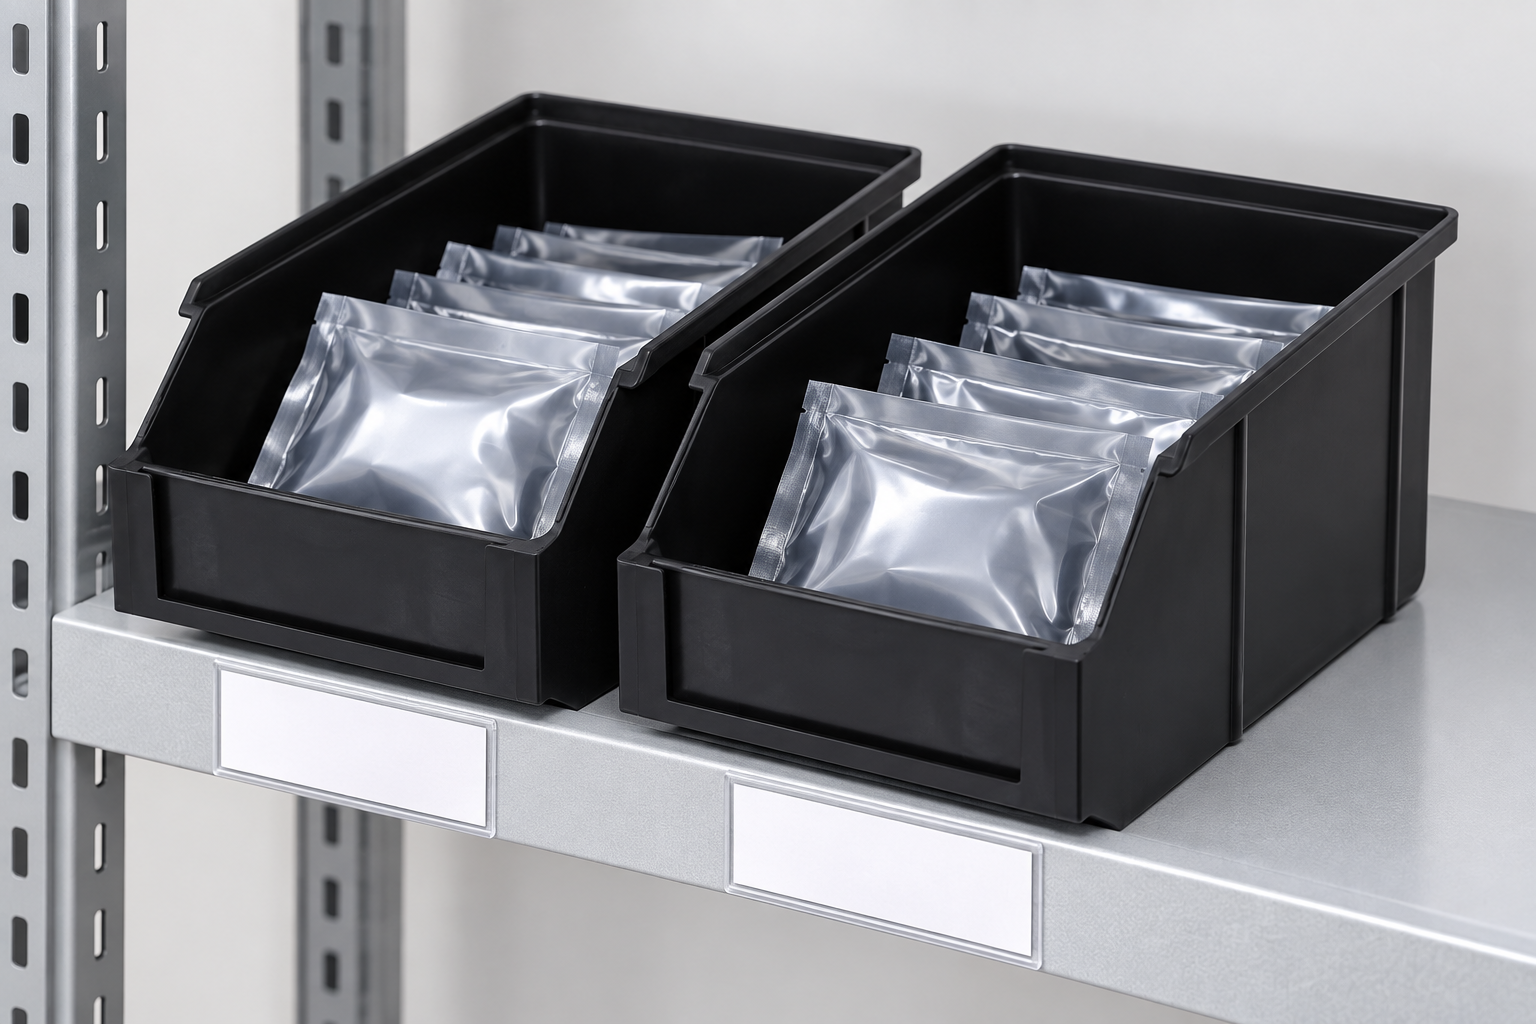
Place labels where operators can see them before touching the pouch, and where the scanner can read them under normal lighting. A label holder must not cover the front opening or snag a package. Test a full bin, a nearly empty bin and a bin on the lowest planned shelf. The tray labeling and MES workflow guide explains the same asset-versus-material distinction for trays.
Separate lots and status
One pick face per material unit is the simplest rule. If the site permits several lots in one bin, separate them physically and require a distinct scan for each. Do not pour loose components from two lots into one cavity. A held lot should have a separate location, not a warning card buried behind accepted stock.
At a revision transition, confirm that the older and newer versions are approved for the specific work order. Similar packaging is not proof of interchangeability. The high-mix ESD storage guide covers revision and partial-lot controls in more detail.
Make replenishment visible and traceable
Define the refill trigger from consumption and response time. A blank card, two-bin signal or electronic request can work, but it must identify the part and destination and lead to a recorded move. Lean Enterprise Institute’s kanban guidance describes a pull signal for replenishment. For electronics, the material handler must still verify lot and package condition when responding.
Keep reserve stock in a separate position so the current pick face remains clear. When the active bin empties, remove its old material label or update the contents record before filling it with another lot. The line replenishment guide covers route and timing decisions beyond the bin itself.
Test reach, flow and exception handling
Run a pilot with operators from receiving, warehouse and line-side replenishment. Have them pick from the highest and lowest approved shelves, with both full and nearly empty bins. Record awkward reaches, pouch damage, wrong scans and dropped packages. Move the shelf or change the bin size if the normal pick requires bending, stretching or digging behind another unit.
Test a no-read label, wrong part, empty bin, damaged pouch and quality hold. The operator should know where to place the unit and whom to contact. Do not leave an unidentified pouch on the cart until a supervisor has time to investigate. Keep each move linked to the receiving lot and work order so a later quality question can be traced.
Inspect bins through their lifecycle
Check the front lip, corners, base, label zone and interior for cracks, burrs, residue and wear. A bin that tips or snags a pouch should be removed for review. Clean using the approved method for the actual polymer and any attached label holder. Keep clean and uninspected returns apart so an operator cannot refill the wrong unit.
Record the failure mode by bin asset or location when practical. Repeated lip damage may indicate a cart or shelf interface problem. A recurring label failure may indicate a poor holder position. Use the evidence to correct the handling route rather than only replacing bins.
Approve the bin with a realistic pick trial
Ask the supplier for production-intent samples in the proposed material and size. Put real sealed packages in the bin, including the largest and smallest approved units. Test one-handed and two-handed withdrawal where the process permits it, and compare the result with a gloved operator’s normal movement. Check that packages do not fold, snag, slide behind the front wall or become hidden under the next pouch.
Run the trial after a full replenishment cycle. Empty an active bin, refill it from reserve, update the location record and pick again. The new package should face the operator with its label visible. If a reprint is needed, test that workflow as well. A bin that performs well only in a carefully arranged first sample is not ready for a busy line.
Measure the effect on the operator and the material. Record missed scans, wrong picks, reach complaints, package damage and time to refill. Compare bins with different depth or shelf positions using the same package and work order. This gives purchasing a reason to choose one format beyond appearance or catalog price.
Keep photographs of the approved loaded state and the accepted label zone with the bin specification. When a new component family is added, compare its package to that record before assuming the existing pick face fits. A small change in pouch width or seal edge can change how the operator removes it.
RFQ checklist
- Protected package dimensions and maximum loaded weight.
- Required electrical properties and use inside or outside an EPA.
- Front opening, shelf depth, reach and hand-clearance requirements.
- Label and scanner position.
- Lot-separation, status and replenishment workflow.
- Cleaning, inspection and replacement criteria.
- Sample trial conditions and acceptance record.
For the warehouse-level process, read the ESD-controlled storage guide. Use the product sample and actual shelf layout together before approval.
Further learning: visual replenishment controls

This Lean Enterprise Institute webinar provides context for making picking and refill conditions visible.
Perguntas frequentes
Does a front-opening ESD bin protect bare parts outside an EPA?
Do not assume so. Select the protective package and handling method from the device sensitivity and ESD control plan.
Where should the bin label go?
Put it where operators and readers can see it without blocking the opening or snagging a package.
Can two lots share a pick face?
Only with approved physical separation and a distinct identity for each unit; one lot per face is simpler.
What should trigger replenishment?
Use actual consumption and response time to define a visible or electronic signal with a named owner.
When should a bin be replaced?
Remove it for review if cracking, warping, sharp edges, contamination or unstable support affects approved use.
Deixar uma resposta