- Turbo
- Blog
ESD component storage in high-mix manufacturing should let a team find the right part and lot quickly while keeping electrostatic and packaging controls intact. High mix changes the problem: many low-volume part numbers share limited shelf space, engineering revisions change frequently, and partial reels or pouches return from the line. Use stable locations, right-sized ESD containers, one clear identity per material unit, and a scan or traveler record for every split and move. Design the picking route around actual demand rather than filling the warehouse with identical bins.
Segment the inventory by handling need
Group material by package and risk: sealed semiconductor pouches, cut tape, reels, trays, bare PCBs, and larger assemblies do not need the same container. Record ESD sensitivity, moisture status, dimensions, weight, pick frequency, and whether the package will be opened in storage. A small front-opening bin may suit sealed pouches, while a tall reel or a populated board may need a different rack or tray.
The EOS/ESD Association explains that ESD control includes packaging, material handling, and the environment, including warehouse areas, in its fundamentals. Define where an EPA begins and where closed protective packaging carries the risk control. A black bin by itself is not proof of a complete ESD system.
| Inventory group | Useful container role | Identity check | Exposure or fit risk |
|---|---|---|---|
| Frequently picked sealed pouches | Front-opening bin near issue point | Part, revision, lot and quantity | Mixing similar package sizes |
| Partial reel or cut tape | Supported, separated location | Parent lot and child quantity | Loose tape or wrong exposure record |
| Moisture-sensitive material | Bin outside approved dry package | Seal, MSL and opening time | Assuming the bin is a dry pack |
| Low-frequency spare | Protected long-term location | Review date and condition | Old stock without release evidence |
| Quality hold | Physically segregated location | Disposition and owner | Accidental issue to production |
These are layout decisions, not numerical standards. Set acceptance conditions from the component maker and the factory control plan.
Make the shelf address stable
Use a location scheme that survives a reorganization: zone, aisle, shelf, level, position. The address belongs to the physical location, while the material record identifies the part and lot currently there. If two lots share one bin, provide physical separation and an explicit system rule; the safer default is one material unit per pick face. Avoid changing a location label each time contents move.
GS1 US describes how identification supports inventory levels and locations in its inventory management overview. A factory can use its own internal IDs if they are unique and controlled. What matters operationally is that the scanner and WMS agree with the physical shelf.
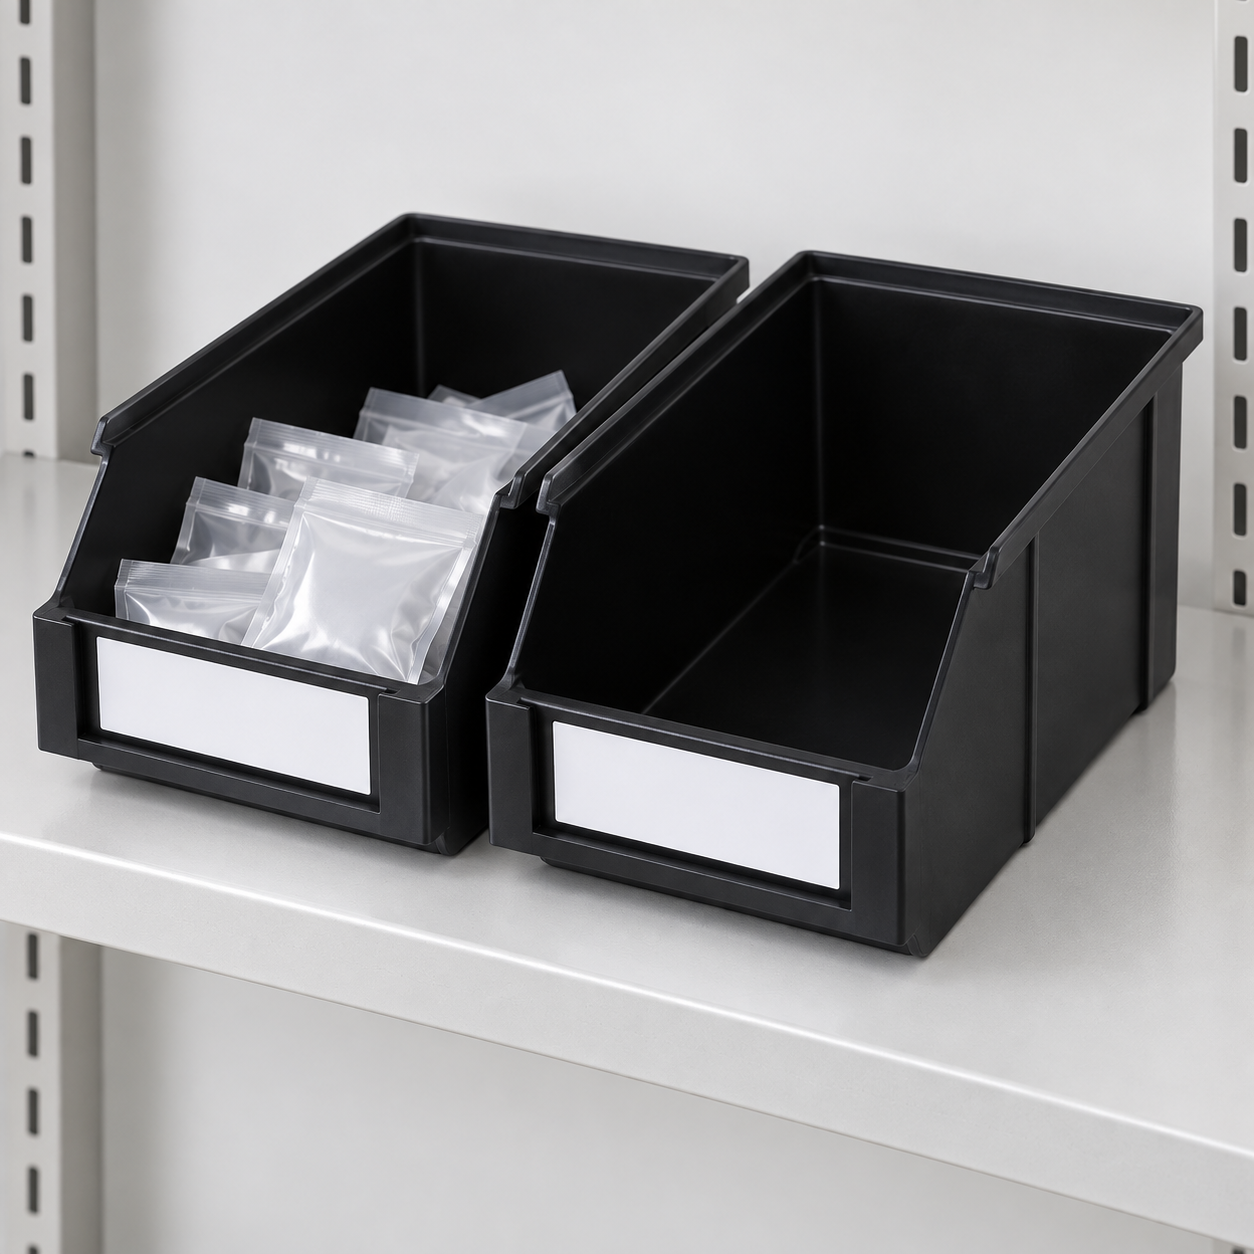
Use bins that keep the part visible and protected
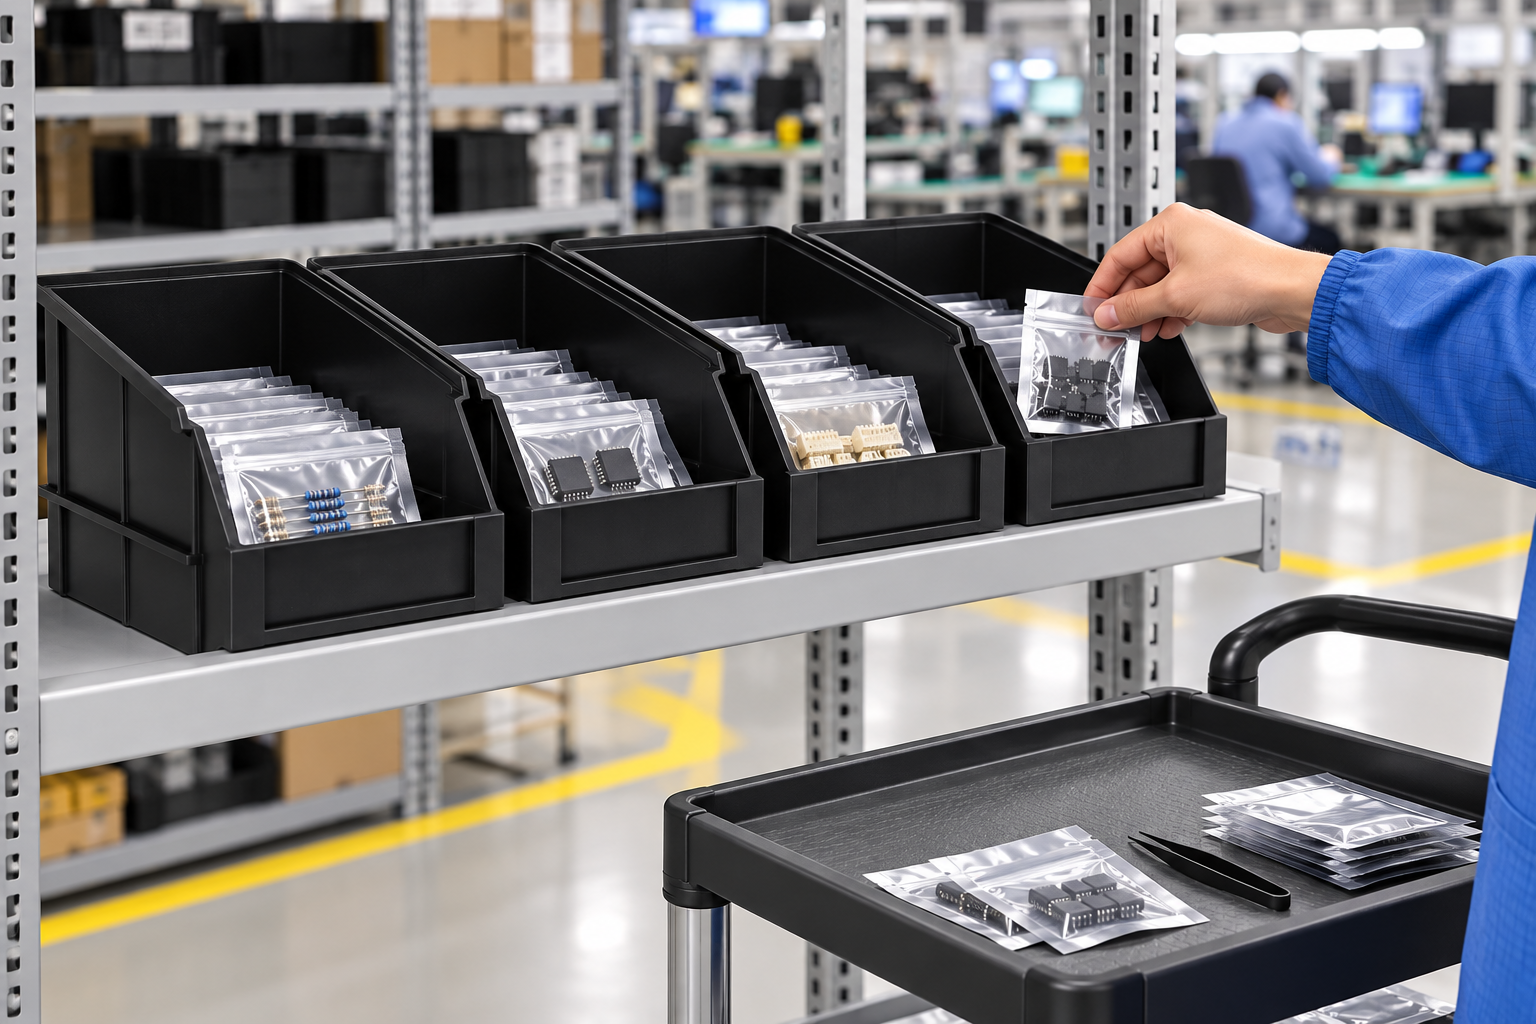
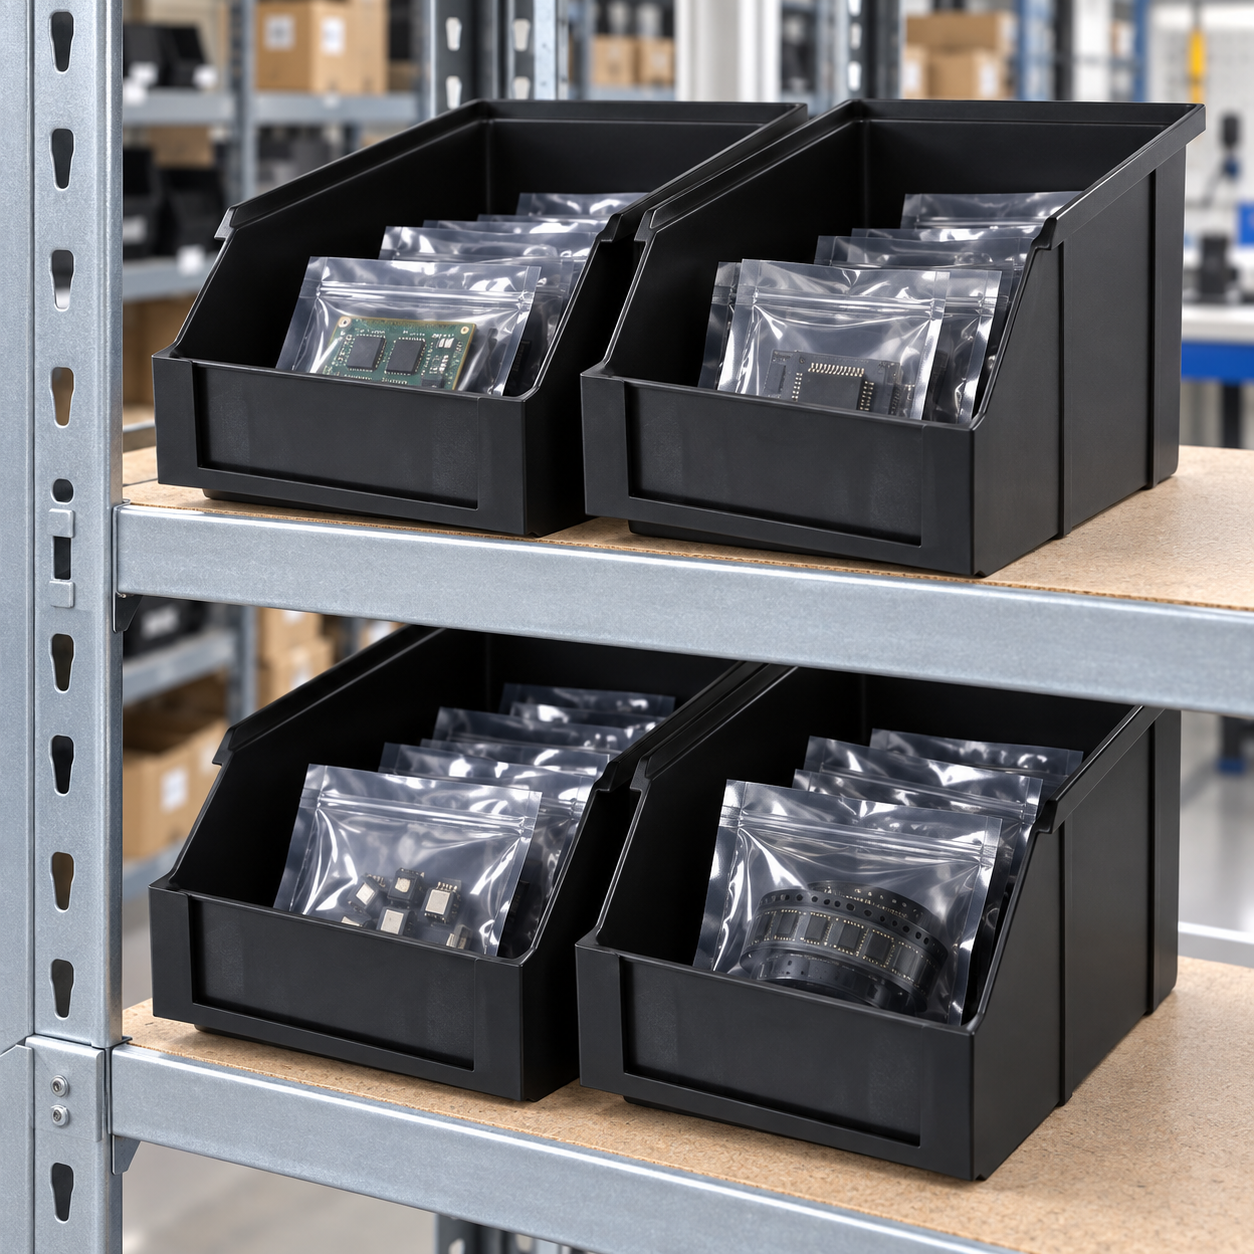
O SWESD front-opening component bin can support shelf picking of appropriately protected small parts. Verify the dimensions, load, material and cleaning method for the actual item. Keep pouches sealed when the process requires it. An open front improves access, but it does not supply dust sealing, moisture control, or discharge shielding by itself.
Put heavy or awkward units at a height and depth that operators can lift safely. Leave hand clearance around a pouch so it is not scraped against a rim. If the picking step opens the package, perform it in the approved EPA and return material in a verified package. The ESD warehouse storage guide covers this site-wide boundary.
Control engineering revisions and substitutions
High-mix production often carries old and new revisions together. Store each revision as a distinct identity unless engineering has explicitly approved interchangeability. Do not place a substitute in the original bin because it “looks the same.” A pick screen should show part, revision, manufacturer, lot, and status before the operator confirms the move.
Quarantine material when a revision is superseded but the disposition is not yet clear. Keep engineering approval with the lot record. If a work order permits several alternates, the system should still record which physical part was issued, not only the generic assembly line item.
Record splits and returns as separate events
A partial pouch or reel is a new handling unit. Record the parent lot, remaining quantity, new package, exposure state, and location. When it returns from the line, inspect label and package integrity before it rejoins accepted stock. This is especially important for moisture-sensitive devices; the IPC/JEDEC J-STD-033D contents show the separate procedures for dry pack, exposure and safe storage.
NIST’s manufacturing traceability principles describe linked, time-ordered provenance. In a high-mix warehouse, this becomes a practical parent-child chain from receipt to each split, issue, return and disposition. A scanned bin ID should never be mistaken for the lot identity.
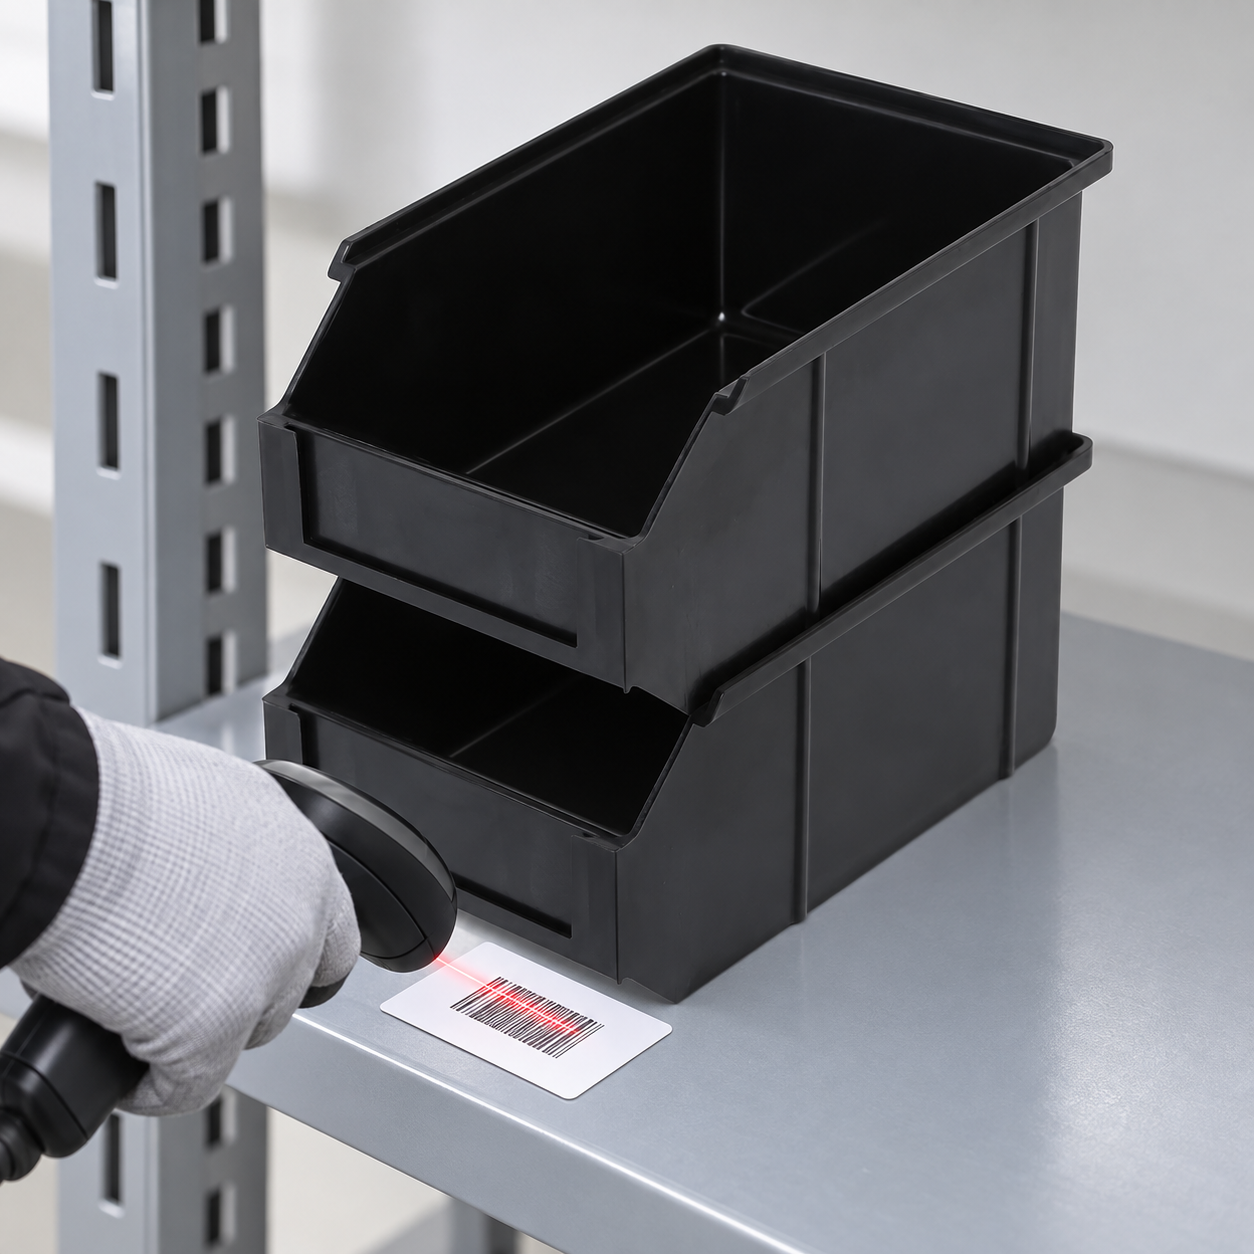
Replenish by demand and exception
Classify pick faces by observed demand and change them when the mix changes. Fast movers belong near the issue point; slow movers can stay in denser protected storage. Set replenishment triggers from work orders and minimum quantities rather than only the visual level in a bin. If a line request would empty a location, reserve the remaining quantity before another order claims it.
Build an exception lane for wrong part, damaged package, no-read label, missing stock, and unknown status. An operator should be able to stop the pick and identify the owner for resolution. A temporary handwritten label may help during investigation, but it should not become the final traceability record without authorization and reconciliation.
Audit what high mix makes fragile
Choose sample locations and compare bin contents with the WMS. Then choose a recently issued work order and trace each picked lot back to its supplier and receiving record. Check revision correctness, partial quantity, exposure status and return history. Audit both fast and slow movers; slow stock can hide errors for months.
Count wrong picks, location corrections, unlabeled returns, and packaging damage. Use the pattern to change bin sizing, label placement, shelf spacing or system prompts. The tray labeling and MES guide provides a complementary example of identity layers. The same principle applies to bin locations.
Test the layout with a representative order mix
Before buying an entire bank of bins, run a pilot using work orders from several product families. Include a rush order, a low-volume spare, a revision transition, a partial reel and a quality hold. Time the walk, scan, verification and replenishment steps separately. A short walking route can still be slow if every bin requires opening a pouch or decoding a crowded label.
Watch where operators put material while they work. If a cart has no controlled position for a picked lot, a correctly labeled bin can still feed a mixed kit. Provide a location for “picked but not yet verified” and a different location for “verified and ready to issue.” Define how the operator handles a missing item without leaving other picks untraceable on the cart.
Measure the pilot after one normal replenishment cycle, not just on a freshly arranged shelf. Refill the fast-mover bins, return partial units, and reconcile an exception. If the layout makes these routine actions awkward, adjust bin size or shelf position. Do not respond by asking operators to remember workarounds.
Review the layout whenever the product mix changes materially. New assemblies may share part numbers yet use different revisions or packaging. Update the location map and scanner prompts together. Retire old labels at the same time so an operator never sees conflicting instructions at the shelf.
Keep the pilot record with photographs of the approved shelf, sample labels, bin part numbers and the tested order mix. A later team can then tell whether a proposed shortcut is within the validated process or a new change that needs review.
Assign one owner to maintain that record.
RFQ and implementation checklist
- Part families, package types and pick frequency distribution.
- ESD and moisture status for each family.
- Bin and rack dimensions, load, cleaning and replacement criteria.
- Location code, label and scanner rules.
- Parent-child split, return and substitution transactions.
- Quarantine locations and named disposition owner.
- Pilot shift, audit method and acceptance criteria.
For longer storage horizons, read long-term component storage requirements. For a different container format, compare the component tray selection guide.
Further learning: ESD control principles
This EOS/ESD Association lecture provides the electrical-control background for handling multiple sensitive part families.
Perguntas frequentes
Can several lots share one ESD bin?
Only with clear physical separation and system records; one material unit per pick face is the safer default.
Does a black bin replace a protective package?
No. Use the package required by the device sensitivity and handling route.
How should a partial reel return to stock?
Record its parent lot, remaining quantity, package condition and exposure state, then assign a controlled location.
Can an alternate part be placed in the original bin?
Only after an approved substitution and a distinct identity in the record; similar appearance is not enough.
What is the best first audit?
Compare a physical pick face with the system, then trace a recent work order’s picked lots back to receipt.
Deixar uma resposta