- Turbo
- Blog
An ESD waste bin lid and pedal clearance inspection checks whether the actual container can stand securely, open through its intended movement, and close without interference at its assigned location. Check the empty bin and the approved liner arrangement before releasing it for use. Stop if the lid catches an obstruction, the pedal binds, or the body rocks. A successful mechanical check does not establish electrical performance: the bin, liner and location still need acceptance under the facility’s ESD control plan. The practical result should be a clear decision to use, relocate, hold or repair the container.
Start with the supplied configuration
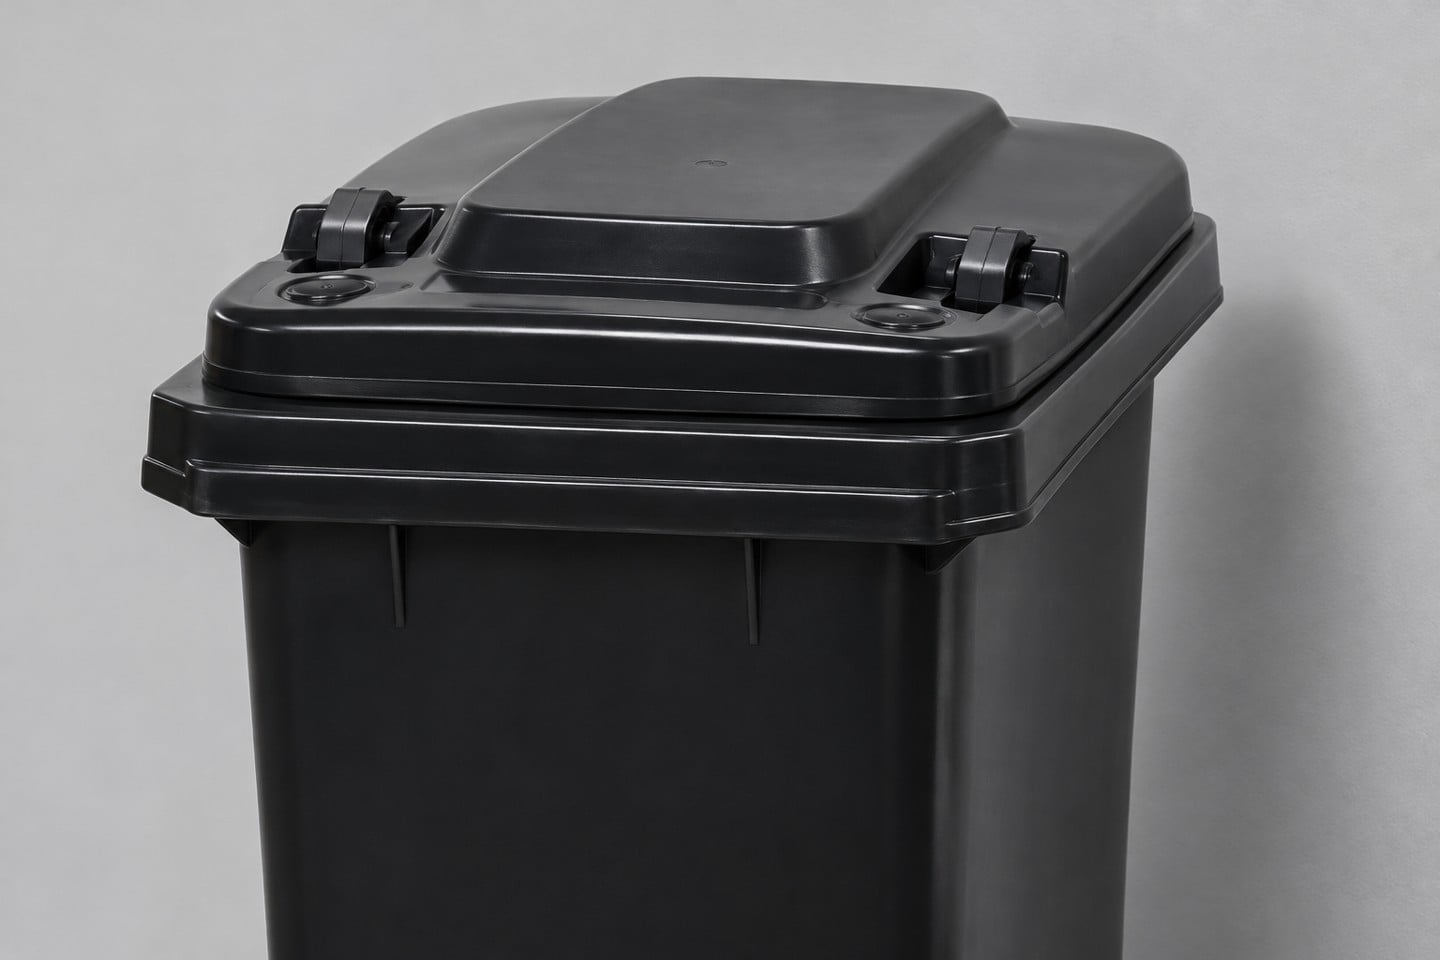
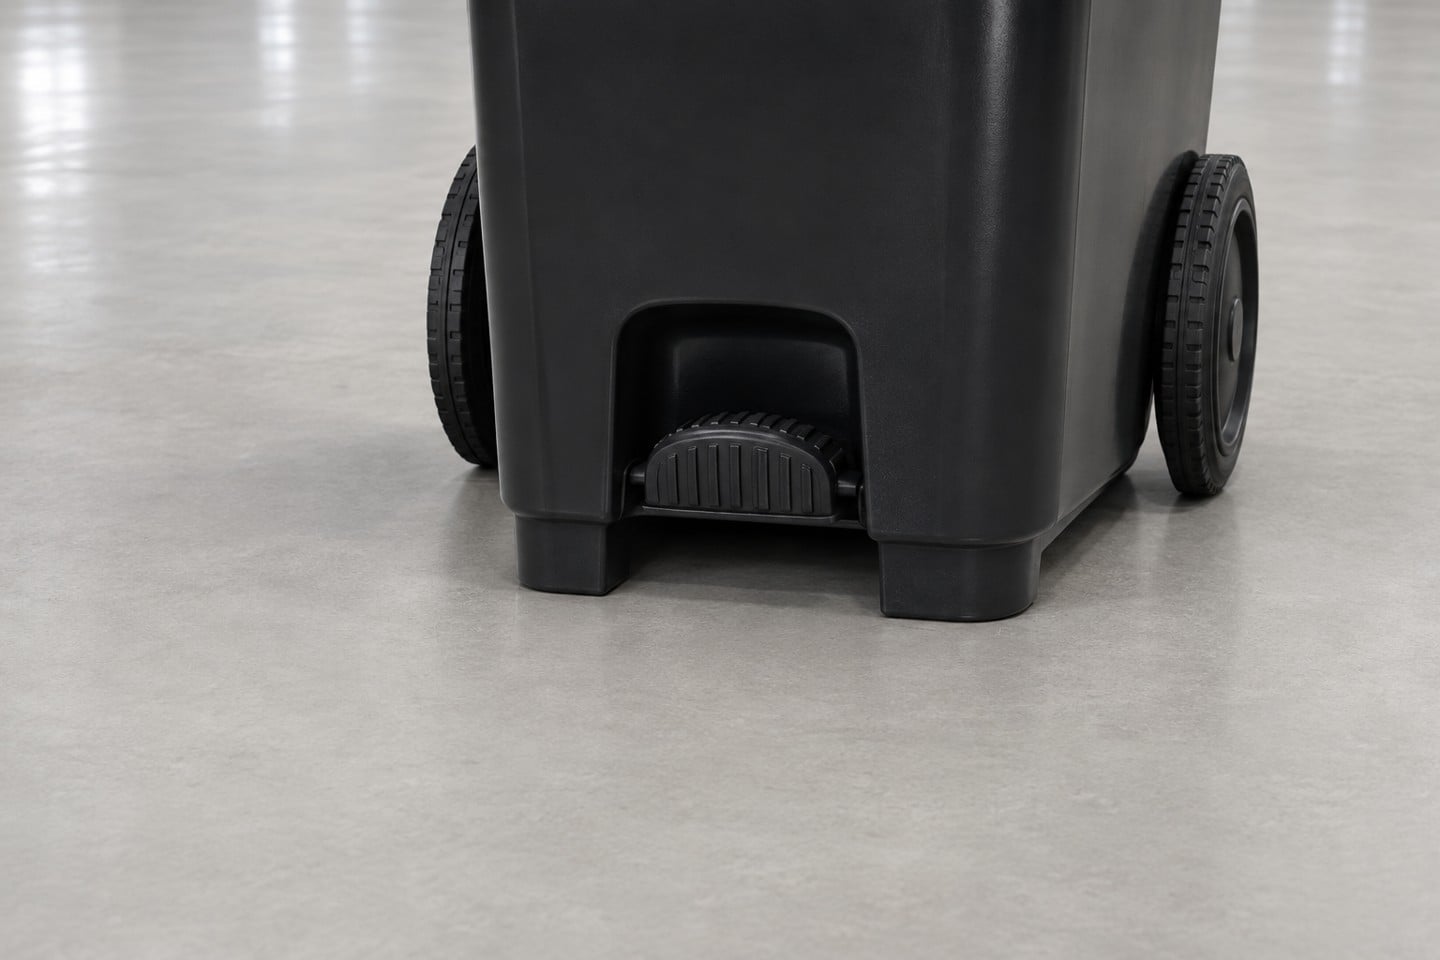
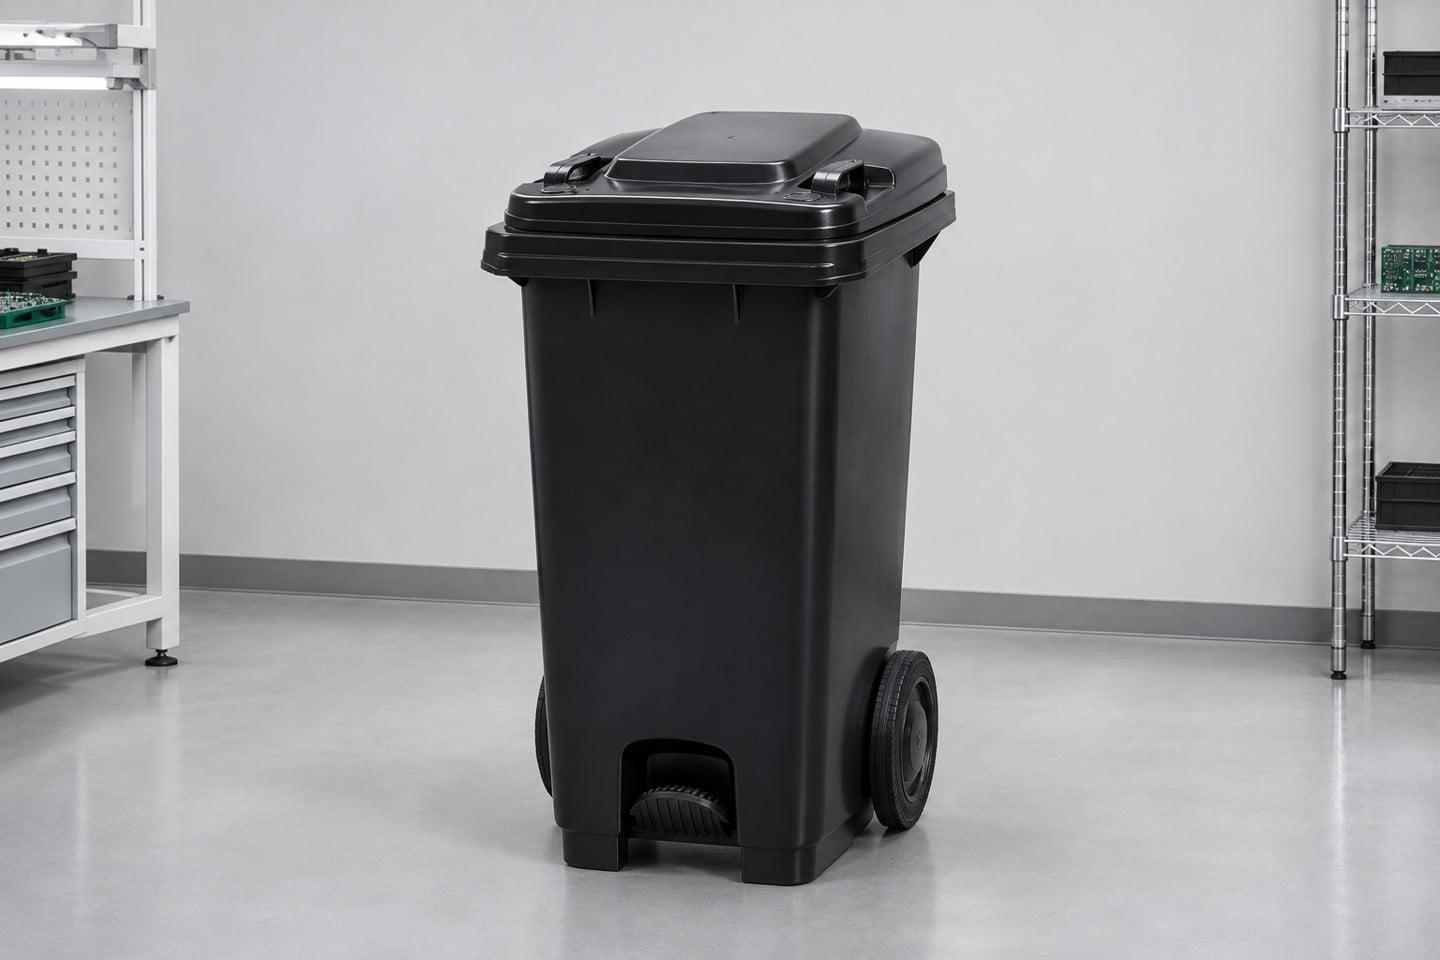
SWESD’s industrial ESD waste bin range includes different container arrangements. Do not assume every size has the same lid, pedal, wheels or operating instructions. Match the delivered item and order record to the configuration being inspected. The reference illustration in this article shows a black lidded bin with a recessed pedal and two wheels; it does not prove the capacity or options of an individual order.
Record the item identity and the intended location. Ask for the operating instructions covering that exact arrangement, including how to open the lid, whether any hold-open feature exists, and which tasks require maintenance personnel. An operator should not experiment with an unfamiliar linkage to discover how it works. The broader ESD waste bin selection guide covers application selection; this checklist addresses movement and clearance after that selection.
Before touching the mechanism, confirm that the container is empty and suitable for inspection. If it has already held waste, follow the site’s handling and decontamination procedure. A visible obstruction inside an in-service container is not an invitation to reach into unknown contents. Arrange safe access through the responsible team rather than turning a basic check into an uncontrolled waste-handling task.
Inspect the standing position before operating the pedal
Place the bin where it will actually be used, on the approved floor surface. Check whether its feet and wheels sit as intended and whether the body remains steady without someone holding it upright. A bin that appears stable on a receiving bench may behave differently beside a workstation, across a floor joint or on a sloping transition. Record the actual condition rather than declaring the whole product family unstable.
Keep the approach to the pedal clear. Check the position of nearby cabinets, floor protectors, cables and neighboring containers. The operator needs an unobstructed stance without stepping into an aisle or leaning over an exposed electronics work surface. Check that the location also leaves room for the approved collection method. Routine disposal access and later removal of the filled liner are different tasks and both need space.
Do not put improvised wedges underneath the bin as a quick solution. A spacer may change stability, interfere with a pedal or affect an intended electrical path. Ask the responsible person to approve relocation or a suitable installation arrangement. Where placement changes the ESD setup, review the associated workstation grounding arrangements within their own scope; a mechanical fix must not silently redefine the protection system.
Observe the full lid movement safely
Look around the lid before operating it. Identify the expected sweep toward the wall, nearby shelves, machine panels and projecting handles. Clearance should accommodate the actual opening movement without collision. This article gives no universal distance because hinge geometry, lid size, opening angle and workstation layout vary. Use the manufacturer’s instructions and the approved local arrangement to set the acceptance condition.
A trained operator can then use the intended opening method while keeping hands away from hinge and pinch areas. Watch from a safe position. Does the lid move smoothly, stop as intended and return without striking nearby equipment? Is an object preventing closure? Stop the check when movement is abnormal. Do not push the lid farther, repeatedly stamp the pedal or put fingers into the linkage to identify the sticking point.
Repeat the observation in the intended location if the first check took place elsewhere. An empty receiving area can conceal a placement problem that appears only beside the production bench. Record which part contacted which obstruction and whether the bin was empty or fitted with its approved liner. A short factual description and a safely taken photograph are more useful than an unsupported diagnosis such as weak hinge or incorrect spring.
Check the pedal and approved liner together
Observe the pedal at rest. Look for obvious damage, interference around its travel and a position that differs from the supplied arrangement. If the operating instructions permit a basic function check, use normal intended operation. Check whether pressing and releasing the pedal produces the expected lid response. Avoid using force as a test method; a reluctant mechanism needs review, not an improvised strength test.
After the empty-bin check, evaluate the approved liner fitting according to the site’s procedure. Excess material caught over a hinge, folded around a rim or hanging near a linkage can change movement. Keep liner approval separate from liner placement. A mechanically convenient bag is not automatically acceptable for ESD use, and an approved liner still needs correct installation. The bin liner compatibility review explains the separate material decision.
Do not demonstrate the clearance check with production scrap or by deliberately overfilling the container. Use the normal approved setup and the defined fill limit. If the lid cannot close under normal service conditions, stop additional loading and arrange collection or review as appropriate. Changing a lid, adding a weight or holding it open with an object changes the arrangement and should not become an undocumented local practice.
Use a small decision table
The following table is a suggested facility checklist, not a product certification test. Adapt it to the supplied instructions and local risk assessment. HSE’s work equipment inspection guidance supports matching checks to equipment, conditions and risk. It does not establish a fixed clearance, inspection frequency or legal requirement for every waste bin in every jurisdiction.
| Observatie | Directe actie | Bewijs voor beoordeling |
|---|---|---|
| Lid contacts wall or shelf | Stop and review placement | Bin position and point of contact |
| Pedal movement is obstructed | Keep out of use pending safe review | Visible obstruction and approved setup |
| Liner catches lid or mechanism | Follow approved refitting procedure | Liner item and fitting method |
| Body rocks during normal use | cURL Too many subrequests by single Worker invocation. To configure this limit, refer to https://developers.cloudflare.com/workers/wrangler/configuration/#limits | cURL Too many subrequests by single Worker invocation. To configure this limit, refer to https://developers.cloudflare.com/workers/wrangler/configuration/#limits |
| cURL Too many subrequests by single Worker invocation. To configure this limit, refer to https://developers.cloudflare.com/workers/wrangler/configuration/#limits | cURL Too many subrequests by single Worker invocation. To configure this limit, refer to https://developers.cloudflare.com/workers/wrangler/configuration/#limits | cURL Too many subrequests by single Worker invocation. To configure this limit, refer to https://developers.cloudflare.com/workers/wrangler/configuration/#limits |
cURL Too many subrequests by single Worker invocation. To configure this limit, refer to https://developers.cloudflare.com/workers/wrangler/configuration/#limits.
cURL Too many subrequests by single Worker invocation. To configure this limit, refer to https://developers.cloudflare.com/workers/wrangler/configuration/#limits
cURL Too many subrequests by single Worker invocation. To configure this limit, refer to https://developers.cloudflare.com/workers/wrangler/configuration/#limits.
De cURL Too many subrequests by single Worker invocation. To configure this limit, refer to https://developers.cloudflare.com/workers/wrangler/configuration/#limits explains why a written control plan, trained personnel and relevant verification matter. Use that framework to decide who reviews an installation change or replacement part. Do not adopt a resistance limit or a test interval from another container without confirming its relevance to this application.
The educational video below introduces electrostatic discharge as background for this separate electrical review. It is not a bin installation demonstration and does not validate the illustrated product, pedal or location. The inspection process remains fully described in the text, and staff should use their approved operating instructions for actual handling.
Record a useful hold and return-to-service decision
For an abnormal check, record the bin identity, location, date, observed condition and immediate action. Include whether a liner was present and whether the problem occurred before any waste was added. Describe the symptom in plain terms: lid touches shelf at the assigned position, pedal does not return after release, or body rocks on the floor joint. These statements help distinguish location, fitting and component problems without pretending to identify the underlying cause.
The responsible maintenance or quality person should define the next step. That may be relocation, approved refitting, repair or replacement. Recheck the affected function after the action. If the change could affect electrical behavior, request the relevant ESD review as well. Closing a mechanical work order should not automatically close an unresolved electrical acceptance item.
Keep records proportionate to the problem. A simple normal pre-use observation need not become a lengthy inspection report unless the site’s procedure requires one. More detail is valuable when a defect recurs or a container changes location. Reviewing repeated contacts with the same shelf may reveal that the workstation layout needs correction instead of repeatedly replacing lids.
Put clearance information into the purchase request
A useful RFQ identifies the required container arrangement, intended waste stream, liner arrangement and the location constraints. Supply clear photographs or a simple approved space drawing showing the available footprint, overhead obstacles and access for collection. Ask the supplier to confirm the relevant dimensions and opening envelope for the proposed model. Do not infer them from a photograph or from the nominal volume alone.
Request item-specific instructions, permitted replacement parts and the ESD evidence required by your purchasing specification. State which questions remain open before order release. This makes the enquiry actionable: the supplier can address the actual lid and pedal arrangement rather than quote a generic container. Final placement should still be checked on site because furniture, floor condition and work practices can change after purchasing.
Veelgestelde vragen
Is there one required clearance behind every ESD waste bin?
No. Use the opening envelope and instructions for the exact supplied model and verify the actual installation.
Does a working pedal prove ESD performance?
No. Mechanical operation does not measure electrical properties or establish acceptance under the site ESD plan.
Should I press harder when the lid sticks?
Stop normal operation and report the obstruction or abnormal movement. Do not force the pedal or linkage.
Can an approved liner still cause interference?
Yes. Its fitting can obstruct the rim, lid or mechanism, so check placement separately from material approval.
What information helps a supplier answer a clearance enquiry?
Provide the required arrangement, available space, obstacles, liner setup and relevant photographs, then request model-specific dimensions and opening information.
Plaats een reactie