- Turbo
- Blog
ESD tote box dimensions must be checked against four different spaces: the part’s usable interior, the tote’s external envelope, the loaded height with any lid or stack, and the clearance of racks, carts or conveyors. A nominal size or a single length-by-width label cannot answer all four. Measure an actual approved sample, define orientation, and trial it with the real payload and handling equipment before committing to a large order. This guide explains what to measure, how to record it and where dimensional errors typically appear. It does not imply that a physical fit proves ESD performance; electrical suitability still needs its own qualification.
Start with the part and protection method
Record the longest, widest and highest part or subassembly in its approved handling orientation. Include protruding connectors, fixtures, cushioning, protective bags and required finger clearance. If boards are upright in a rack or magazine, measure the assembled holder rather than a bare PCB drawing. For loose components, measure the finished inner package and the quantity planned per tote. The working interior must accommodate both the product and its protection without forcing contact at the rim or lid.
Decide whether the tote is a point-of-use bin, a reusable warehouse carrier, or a closed transport package. These roles affect the needed clearance and lid arrangement. A tote used in an EPA is not automatically suitable outside it: the EOS/ESD Association’s packaging guidance distinguishes protection within an ESD protected area from additional discharge-shielding considerations outside it. Specify the route before selecting by size.
For the broader handling route and the roles of totes, racks and carts, see the PCB storage and circulation equipment overview. This guide concentrates on the dimensional data that route needs.
Measure the outside envelope at its widest points
Measure external length and width over the widest rim, handles, ribs or corner features—not just across a flat side panel. Measure height to the top of the installed lid or the highest loaded feature, whichever controls the route. If the tote nests or stacks, record both its single-unit envelope and the height of a representative loaded stack. A vendor’s nominal size may describe a product family; the approved drawing and measured sample should determine whether it fits a particular system.
Use one documented orientation throughout the project. Mark which side faces the conveyor travel direction, the rack opening and the operator. A box that fits when turned sideways may not match the tote’s handles, label position or automated identification point. The UPS measurement guide explains why shipping dimensions are taken from the package’s extreme points. That principle is also useful when checking a tote’s maximum physical envelope, although carrier billing rules are separate from factory equipment clearances.
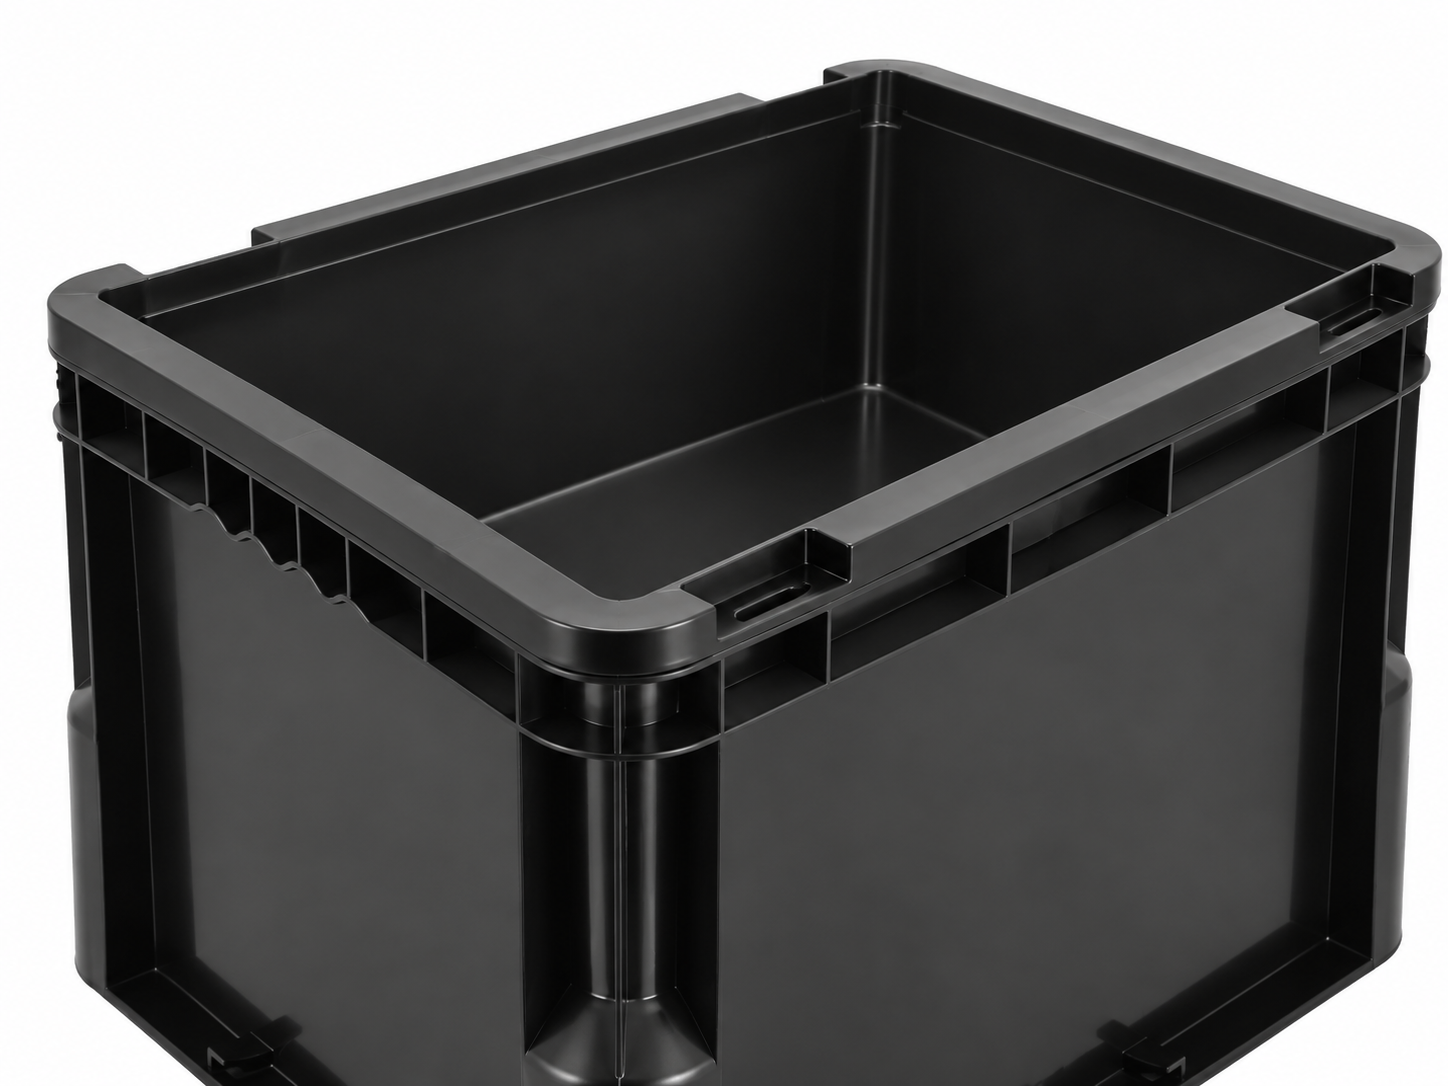
Measure the usable interior, not just the opening
Take interior length and width at the narrowest point relevant to the load. Side-wall taper, strengthening ribs, radiused corners and handle pockets may reduce the area available at the bottom. Record clear height below the lid, including any lid ribs or inward projections. If a divider or cushion is used, measure the space left after it is installed. A component drawing’s overall dimensions do not account for the hand space needed to place and retrieve a delicate part without scraping it against the wall.
A simple fit check should use the actual part or a dimensionally faithful gauge. Insert it in the intended orientation, confirm there is no forced bend or connector contact, and repeat the process while wearing the required gloves. Check both full and partly filled configurations. If the payload shifts in transit, a roomy tote can be less protective than a smaller one with a qualified, compatible restraint. Keep the restraint specification separate from the box dimensions so procurement can evaluate both.
Build a four-interface dimension sheet
| Interface | Dimension to record | Practical acceptance check |
|---|---|---|
| Payload to tote | Usable internal L × W × H after inserts | Load and remove actual part without contact or force |
| Tote to rack | Maximum external L × W × H with lid and labels | Open, close and pick at intended shelf position |
| Tote to cart | Footprint, handle access and retained position | Move through turns and stops without sliding |
| Tote to conveyor | Base contact, leading edge, widest rim and height | Run a controlled trial through all sensors and transfers |
| Loaded stack | Height, alignment and load distribution | Trial only within rated and approved stacking conditions |
Keep all measurements in the same unit and note the measuring method and sample revision. Do not add a generic tolerance to every dimension. Each clearance needs its own equipment drawing, safety allowance and owner approval. An automated line may require more than geometric fit: sensors, guides, end stops, lifts and reject lanes must recognize the container reliably. The related ESD bins in automated storage guide covers system behavior; this article defines the size data needed to test it.
Match racks and carts before conveyors
At a shelf, check clear opening width and height, shelf depth, any back stop, ventilation or cable obstacle, and the ability to grasp the tote without destabilizing its neighbors. Test access when the shelf is loaded, not only while empty. A carton on the rack above may overhang into the tote’s opening. In an EPA, verify the shelf and surrounding equipment under the ESD plan as well as physically. OSHA’s warehouse guidance also calls for sound racking, respected load ratings and safe storage. Physical clearance cannot override those requirements.
For a cart, record usable deck size and any lip or guard. A tote that balances on a platform can shift when the cart turns. Verify the route through doors and narrow aisles with the cart’s full loaded envelope, not the tote alone. If multiple totes stack on a cart, check total height, operator visibility, stability and the manufacturer’s load limits. Do not imply that a photograph of a tote near a cart proves compatibility; a trial with actual hardware is required.
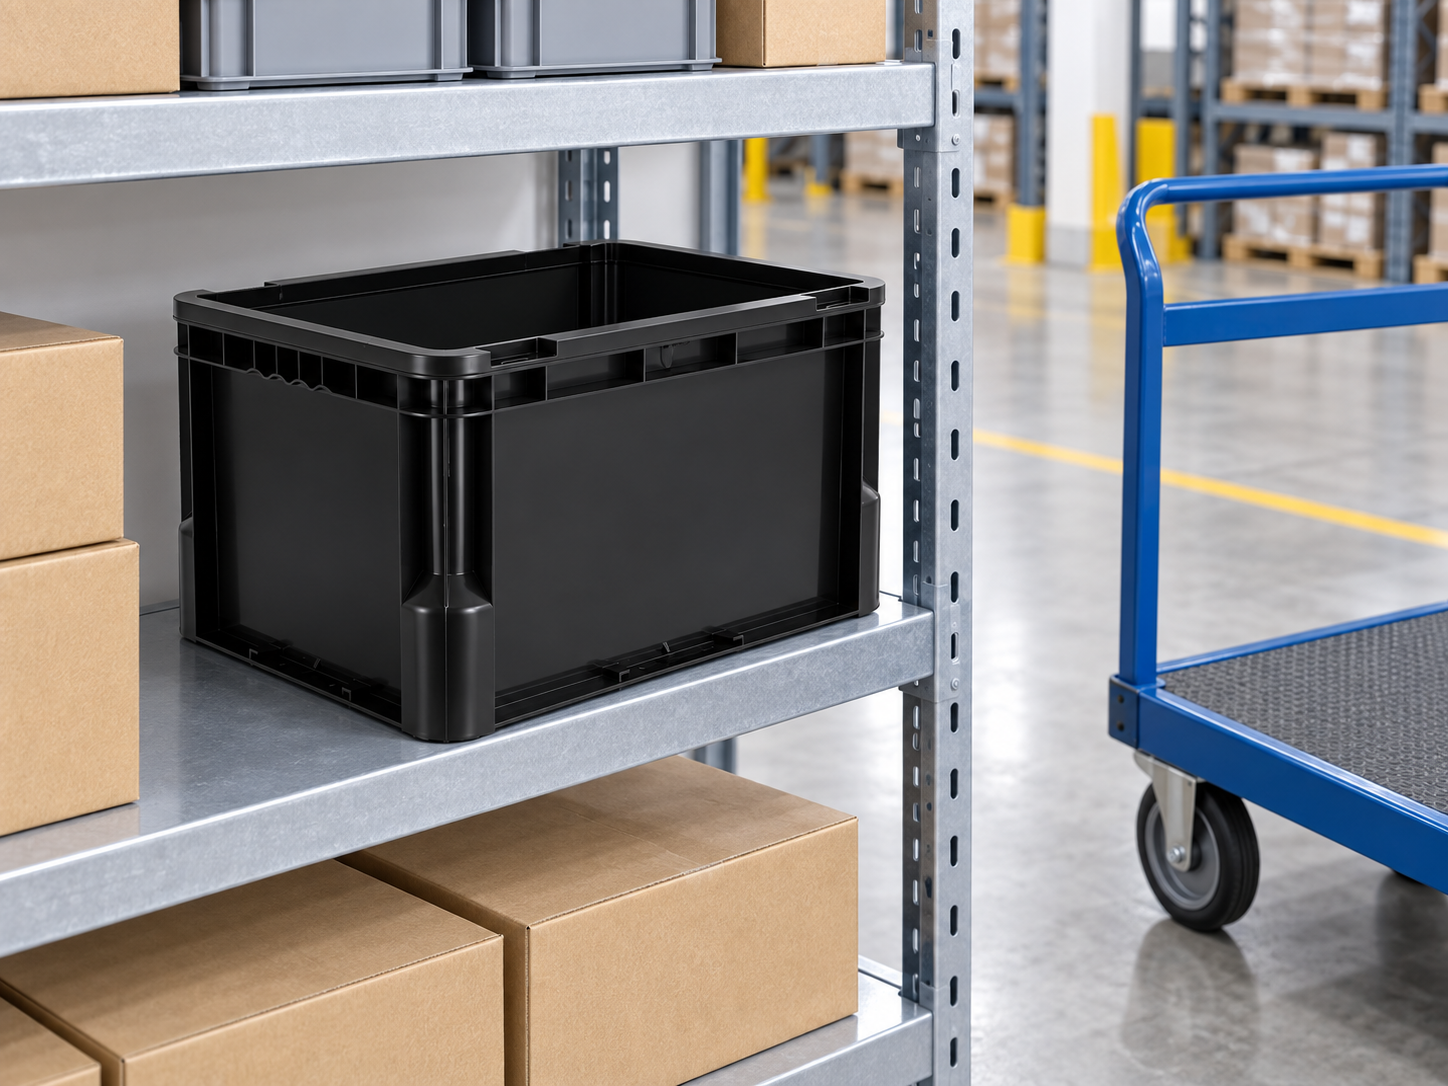
For conveyors, include the base and transitions
Conveyor teams often ask for length, width and height, but also need a stable contact footprint. Record bottom geometry, ribs, recesses and overhangs that may change how the tote sits on rollers or belts. Test the tote in its normal orientation through corners, merges, lifts, stop gates, scanners and accumulation zones. A lid that closes on a bench may lift or snag during a transfer. Labels can interfere with a sensor or become unreadable if placed over a molded rib.
Run representative weights: empty, minimum load and maximum approved load. A light empty box may behave differently from a full one during acceleration and braking. Check whether a warped reusable tote still meets clearance after many cycles. Record rejected or jammed trials and their cause, then agree which dimension or design feature must change. Avoid promising conveyor suitability based on the tote’s nominal outer size alone.
Decide how to document measurement and tolerance
Create a signed dimension sheet with part number, tooling or revision, sample ID, measurement date, unit, orientation, equipment model and the person approving each interface. List nominal values only when they come from a controlled drawing. Beside each, record the measured sample range and the allowable equipment clearance. If a supplier changes material, molding tool or lid design, treat it as a change requiring fit review even if the catalog size stays the same.
For RFQs, give suppliers the envelope that cannot be exceeded and the usable interior that cannot be reduced. Explain which is critical. A buyer who asks only for an “ESD 600 × 400 box” may receive a nominally similar container with different rim, height or internal taper. Ask for the actual drawing, material/ESD qualification evidence, lid option, handle geometry and sample lead time. The site’s ESD turnover crate product page is a starting reference for the illustrated open-top design, not a substitute for project-specific verified dimensions.
Keep ESD and mechanical tests separate
The box’s shape can be right while its protection level is wrong, and the reverse is also possible. Record ESD properties against the site’s approved standard and intended route. Record mechanical performance against payload, handling frequency, stacking, temperature and transport conditions. If the container carries PCB assemblies, use the PCB assembly tote checklist to define contact and protection details. If the primary question is loading strength, use the tray load-capacity guide as a separate validation stream rather than treating dimensional fit as a load test.
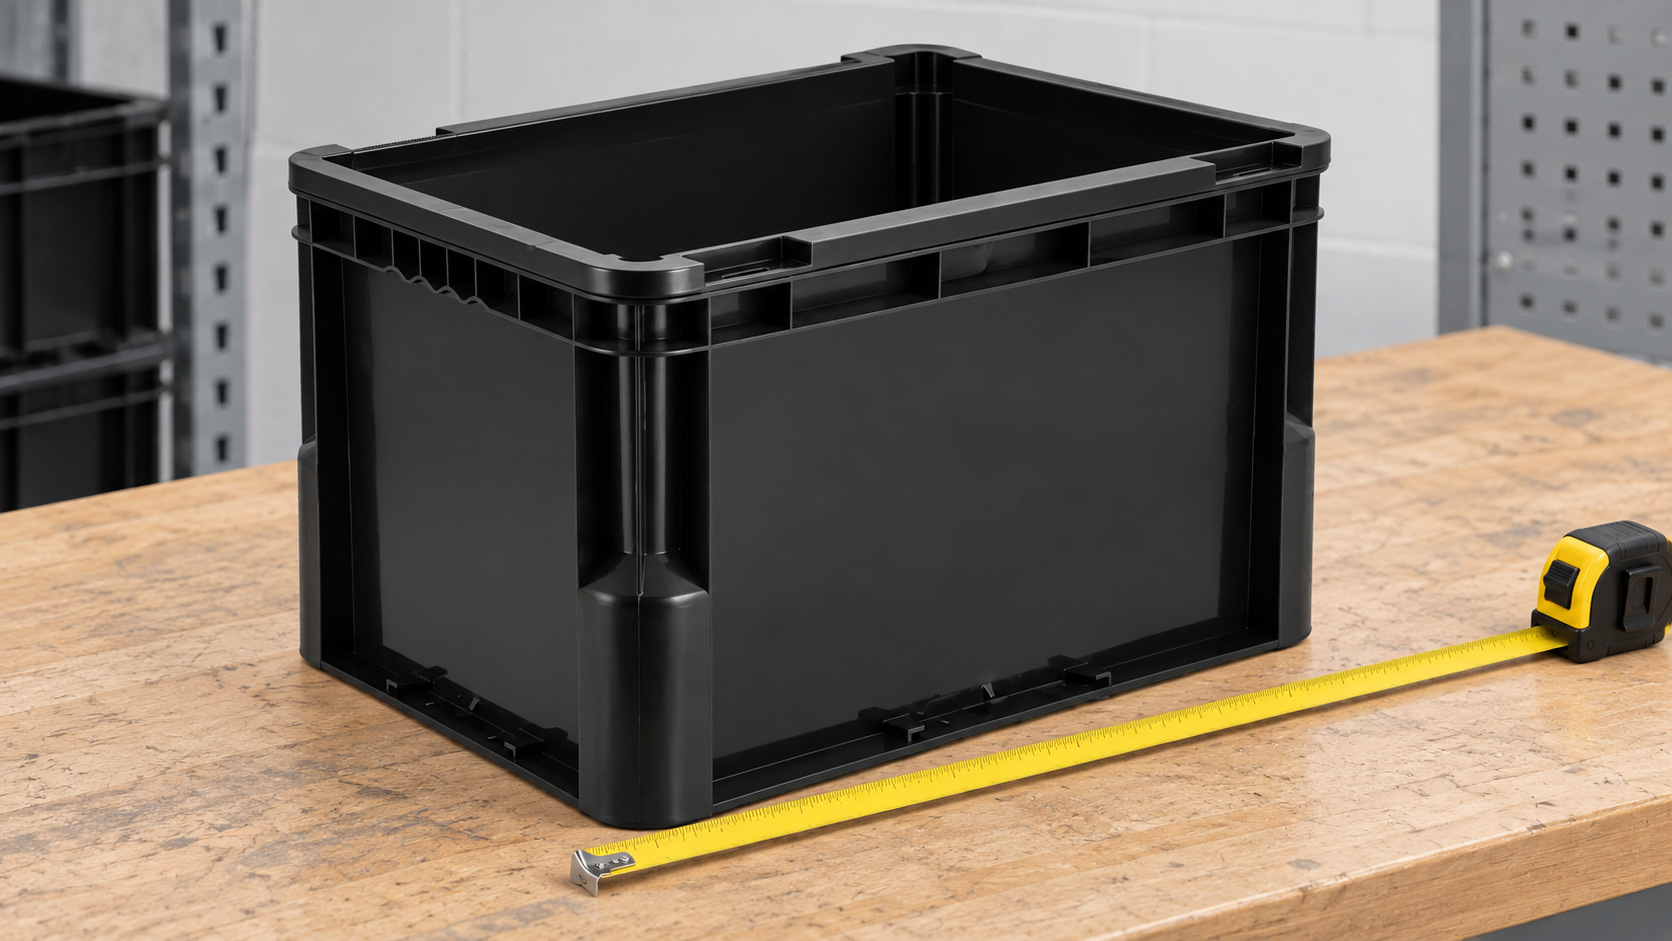
Video: measuring a box consistently
The following independent wikiHow demonstration shows a basic length-width-height measurement method. Apply it to the tote’s widest external envelope, then separately measure its usable interior and any equipment-specific features discussed above.

Foire aux questions
Which tote dimensions matter most for a rack?
Record the maximum outside envelope with lid and labels, then verify shelf opening, depth, loading space and safe hand access.
Is the nominal size the same as the usable interior?
No. Rim, taper, ribs, corners, handles and lid features can reduce the space available to the product.
Can one dimension sheet cover every conveyor?
No. Each line has its own guides, sensors, transfers and clearances; run a controlled trial on the actual equipment.
Does a physical fit prove that a tote is ESD safe?
No. Electrical and packaging suitability must be verified separately for the product and route under the site’s ESD plan.
What should be sent with a tote RFQ?
Send required interior and maximum exterior dimensions, orientation, payload, lid need, rack/cart/conveyor interfaces, route and ESD qualification requirements.
Dernière publication
-
-
 How to Audit an ESD Storage Area01 Oct,2026
 -
 ESD Drawer Cabinets for Small Electronic Parts30 Sep,2026
Laisser un commentaire